AWS CloudTrail: View Events in Console
You can view events in console using the AWS CloudTrail console which provides you with the ability to check the latest ninety days of API events and activity records in a Region, and download a file having this information or specific data according to filters and chosen time range.
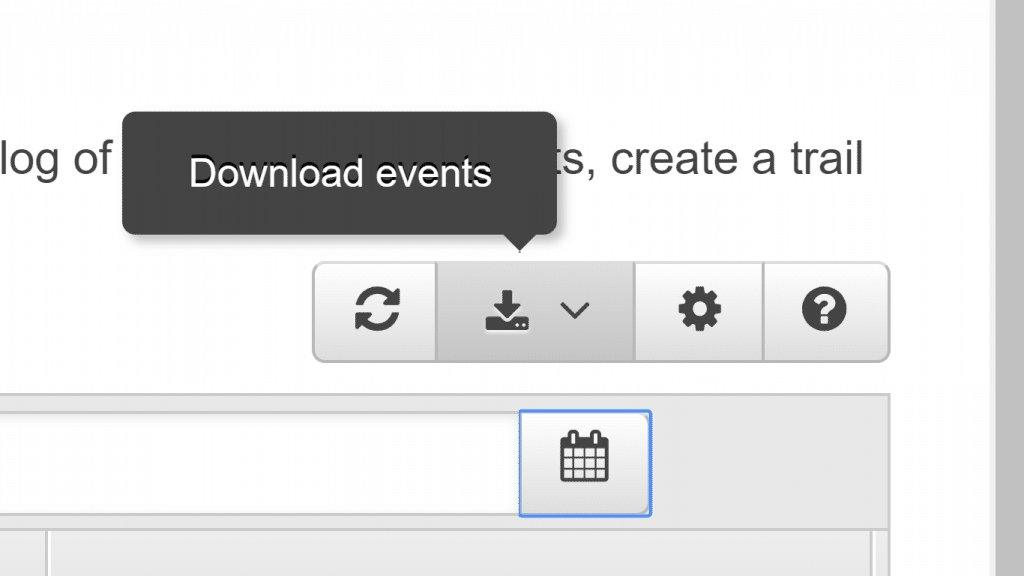
AWS CloudTrail View Events in Console – Download Event
When 90 days pass, they will not be viewed in Event history.
It’s possible to search for and filter events using types of resources of specific services.
Customizing the view of Event history can be easily made through choosing specific columns to get displayed in the console.
Event history cannot simply be deleted by users.
Trails allow you to view events logged to them for an unlimited time while they are stored in a configured S3 bucket.
Keep in Mind:
In order to keep a continuous record of events and activity, you will have to start creating a trail. By doing so, you will benefit from the below integrations:
– Logging Insights events, for the sake of identifying and responding to any unusual activity occurring when performing write management API calls.
– Analyzing service activity using Athena queries.
– Monitoring trail logs with notification of particular activity occurrences using CloudWatch Logs.
Viewing CloudTrail events
- Login to Management Console then go straight to CloudTrail console using the link https://console.aws.amazon.com/cloudtrail/home/.
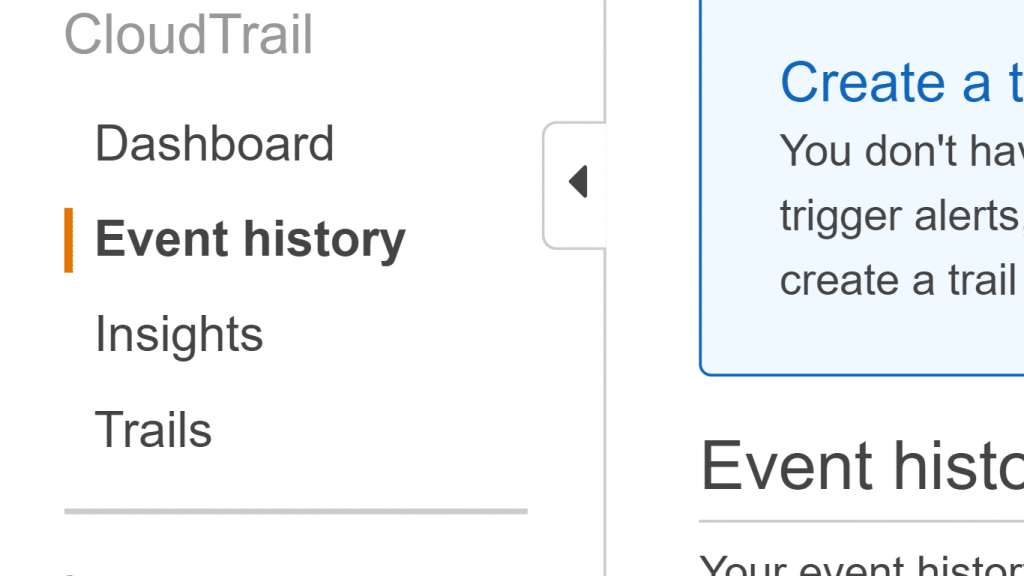
AWS CloudTrail View Events in Console – Event History in CloudTrail Console
- From navigation pane, select the option Event history.
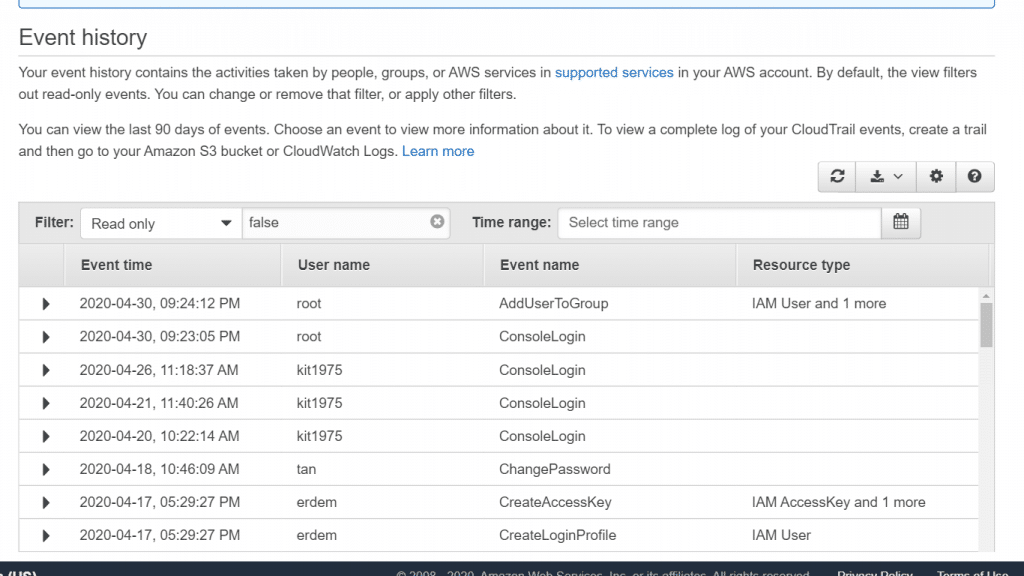
AWS CloudTrail View Events in Console – View Event History
Your list of events shall appear filtered having the newest event appearing first in the list. In order to check out additional event you will need to continue on scrolling down.
By default, Event history to exclude read-only events. If you don’t want this filter, or in case you’d like to add other filters, you will simply need to alter filter settings.
How to Display CloudTrail Events?
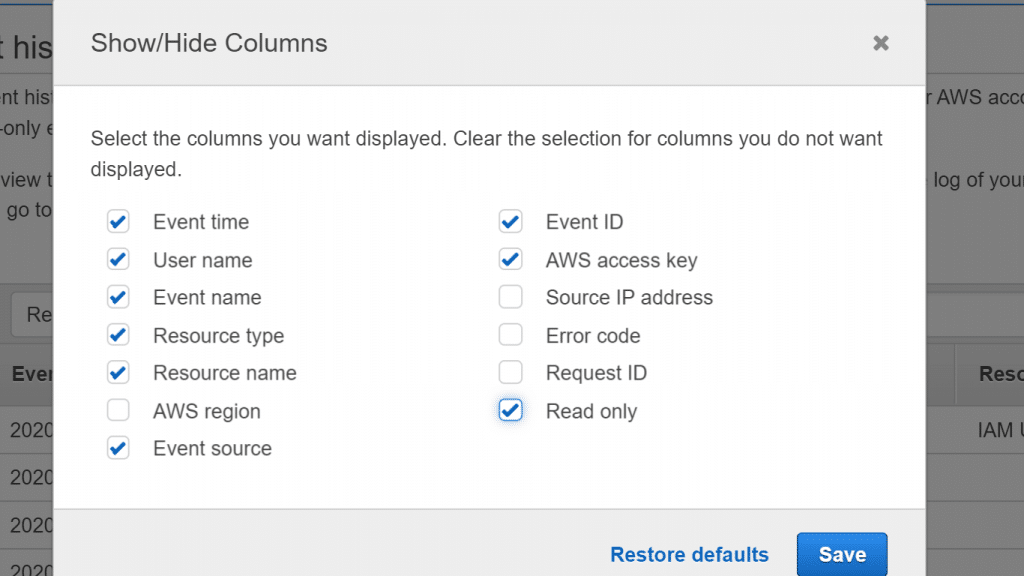
Event history display may be customized through the selection of specific columns that are needed to be displayed in the console.
The below listed columns will be displayed by default:
– Resource type
– User name
– Resource name
– Event time
– Event name
Keep in Mind:
You cannot change the order of columns is not capable of being altered nor can users delete events from Event history.
Customizing columns in Event history
- Login to the Management Console. Go to the CloudTrail console using this link https://console.aws.amazon.com/cloudtrail/home/.
- In the navigation pane, select Event history.

AWS CloudTrail View Events in Console – Event History in CloudTrail Console
- Click on the gear icon.
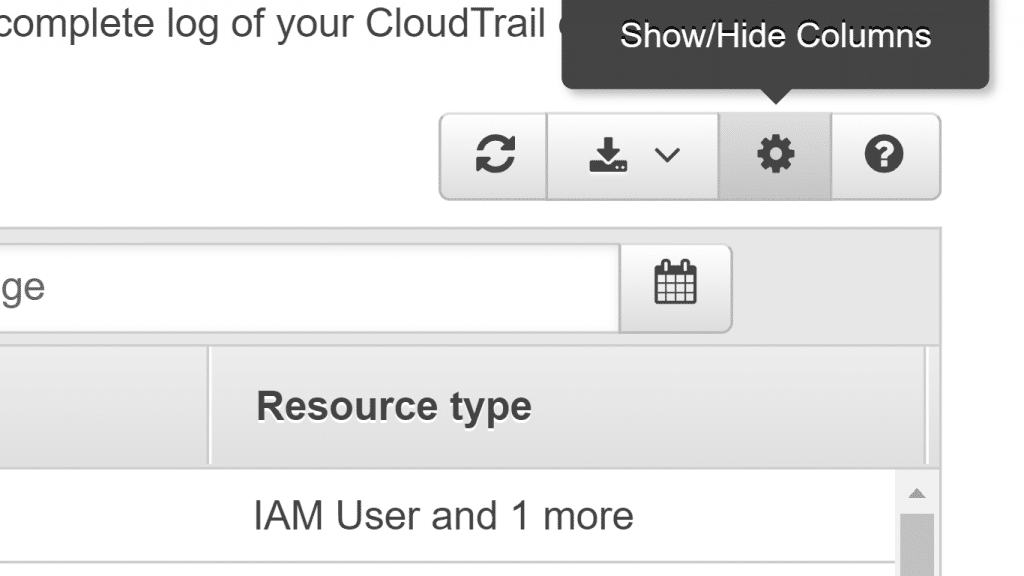
AWS CloudTrail View Events in Console – Show,Hide Columns for Event History
- Choose which columns you’d like to display using the Show/Hide Columns. Remove whatever columns you don’t need. After completing you’re check, click on Save.
AWS CloudTrail View Events in Console – Attribute Filters for Event History
How to Filter CloudTrail Events?
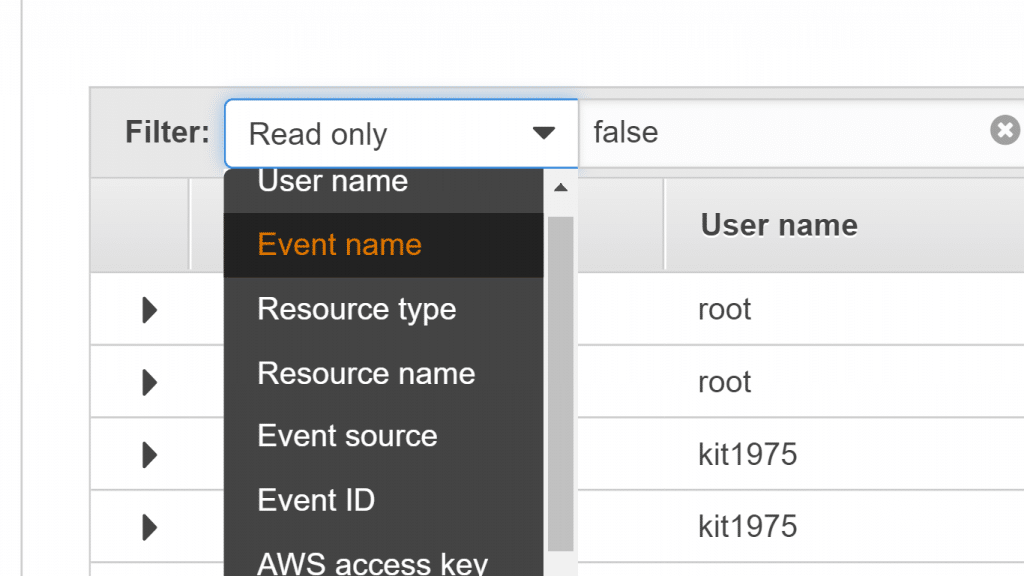
The default display of events in Event history uses the Read only attribute filter, which is specified as false, in order not to include the read-only events in your list of displayed events.
It may be removed in order to show read events and write events at the same time.
In case you decide to go for viewing nothing other than read events, simply set the value to become as true.
Different attributes may be used for filtering events along with time range.
Keep in mind:
Just 1 attribute filter + time range filter can be applied.
Multiple attribute filters cannot be applied together.

AWS CloudTrail View Events in Console – Attribute Filters for Event History
– Event name
May be filtered on IAM events. For example: EC2 events, like RunInstances, or CreatePolicy.
– AWS access key
Access key ID which signed the request. In case a request was made with temporary security credentials, it will be the access key ID of those temporary credentials.
– Read only
Category of read type for an event. Events can be read or write. In case they are specified as false, there won’t be any read events shown. (such an attribute filter will apply with a value of false.
– Event ID
CloudTrail ID, which is unique for every event.
– Event source
Which service had the request. For example: s3.amazonaws.com or iam.amazonaws.com. It’s possible to check all available event sources upon selecting Event source filter.
– Resource name
Name/id, such as i-1234567 for an Instance, or auto-scaling-test-group for an Auto Scaling group.
– User name
User identity which was referenced by event, such as: IAM role name, service role, or IAM user.
– Resource type
Resource type which was referenced by event, such as a DBInstance for RDS and an Instance for EC2. They are different for every service.
– Time range
For the sake of filtering events (last 90 days).
In case no events were logged according to the attribute or the time you needed to find, then the list would appear as empty.
1 attribute filter may be added other than the time range. In the case that you tend to select another attribute filter, the time range you have set will be preserved.
Check out the below steps to learn the way of filtering by attribute:
Filtering by attribute:
- Click on Select attribute, and enter or select a value for the Enter lookup value
AWS CloudTrail View Events in Console – Select Attribute Filters for Event History
- For the sake of removing an attribute filter, click on the “X” which can be shown on the right-side attribute filter box.
Check out the below steps to learn the way of filtering by:
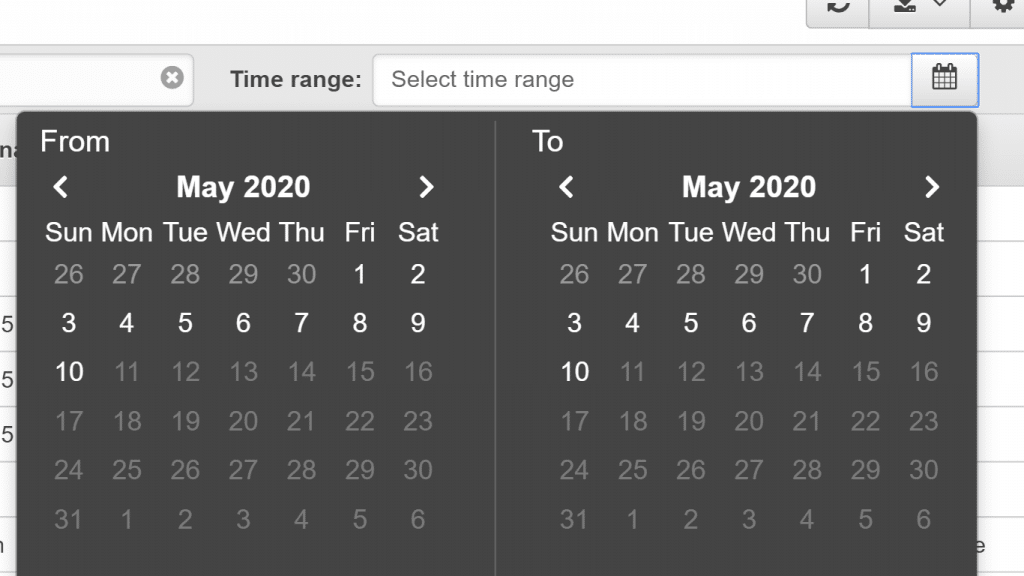
– Start date and time
– End date and time
Filtering by start date and time, and end date and time:
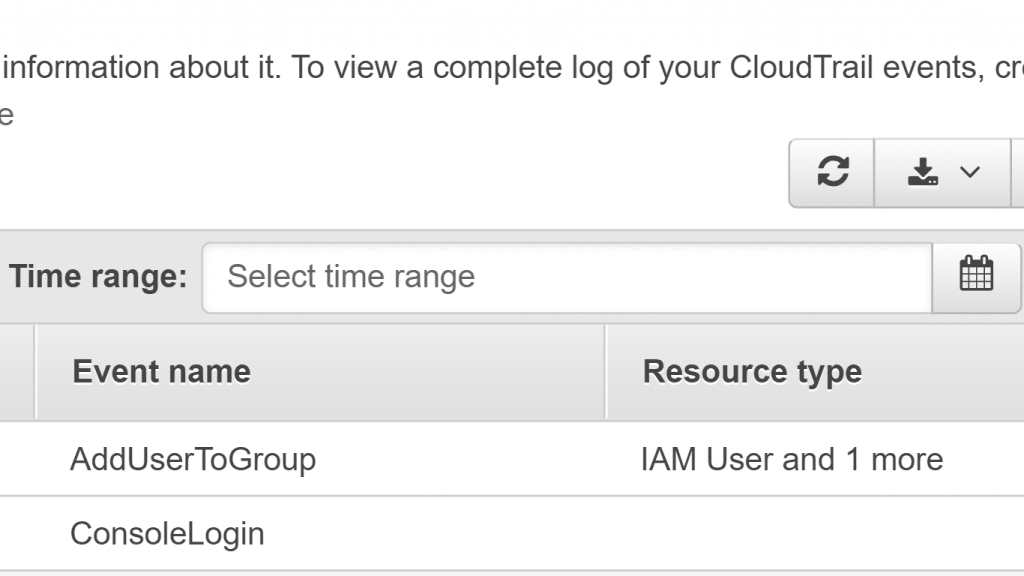
- Click on Select time range.
AWS CloudTrail View Events in Console – Select Time Range
- For the sake of removing a time range filter, select the calendar icon which is located right side of Time range box, and select the Remove
AWS CloudTrail View Events in Console – Calendar for Time Range