Manage AWS Budgets
Manage AWS Budgets: View budgets
- Login to the AWS Management Console. Then, go to the Billing and Cost Management console using the following link https://console.aws.amazon.com/billing/.
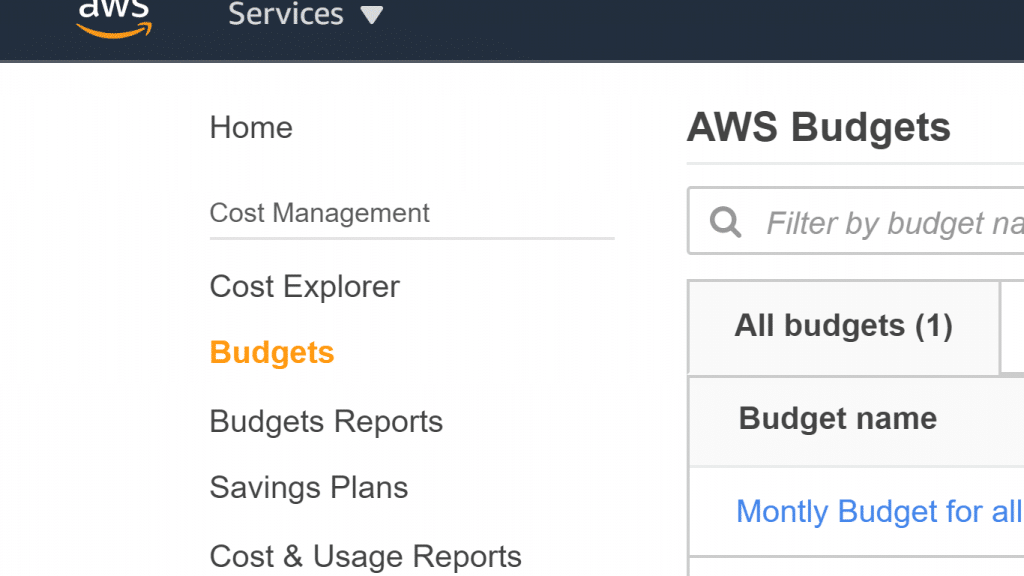
- From navigation pane, click on Budgets.

Manage AWS Budgets – Budgets
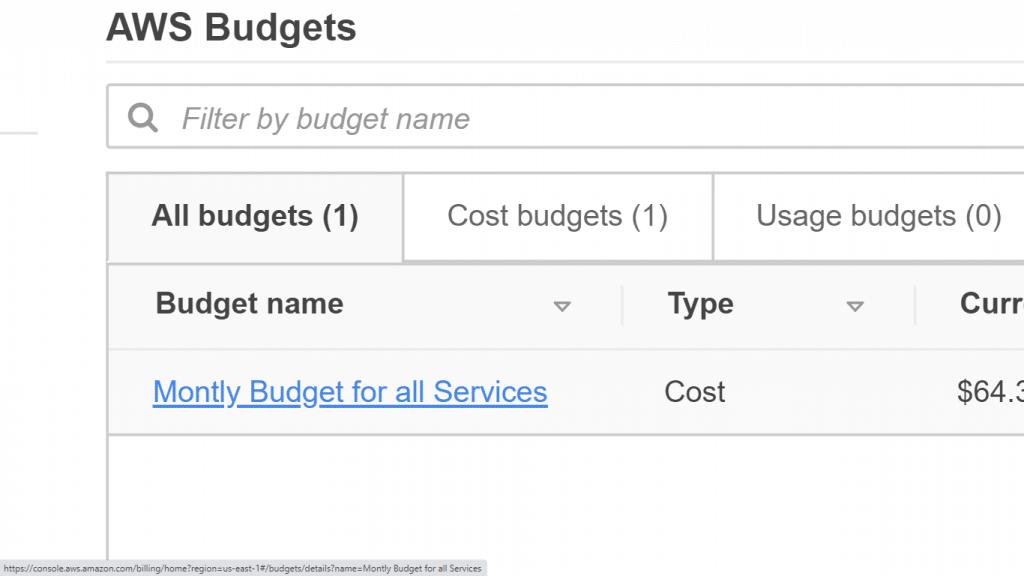
- For viewing the filters and cost variances of your available budgets, click on the needed budget’s name from your listed budgets.

Manage AWS Budgets – Budget name
Manage AWS Budgets: Read budgets
Upon selecting your budget name, you will be taken to your budget details page. There, you will find the below listed information:

Manage AWS Budgets Read Budgets
- Budget History
- Current vs budgeted
- Alerts
- Forecasted vs budgeted
In case changing your budgeted amount for a budget period, you will find that the budgeted amount listed in the shown table will only be the second added budgeted amount.
As an example: in case of having a monthly budget of 200 for April and decide to increase this budget to 400 for the month of May, the may line listed in the table will merely display the 400.
- Budgeted amount
- Budget details
The above mentioned data can be utilized for the sake of checking how well your budget was matching your past costs and usage.
It is also possible to begin downloading every single data used in Budgets for creating the table. Simply follow the below procedure.
Manage AWS Budgets: Download budgets CSV
- Login to the AWS Management Console. Then, go to the Billing and Cost Management console using the following link https://console.aws.amazon.com/billing/.
- From navigation pane, click on Budgets.
- For viewing the filters and cost variances of your available budgets, click on the budget’s name in your list of budgets.
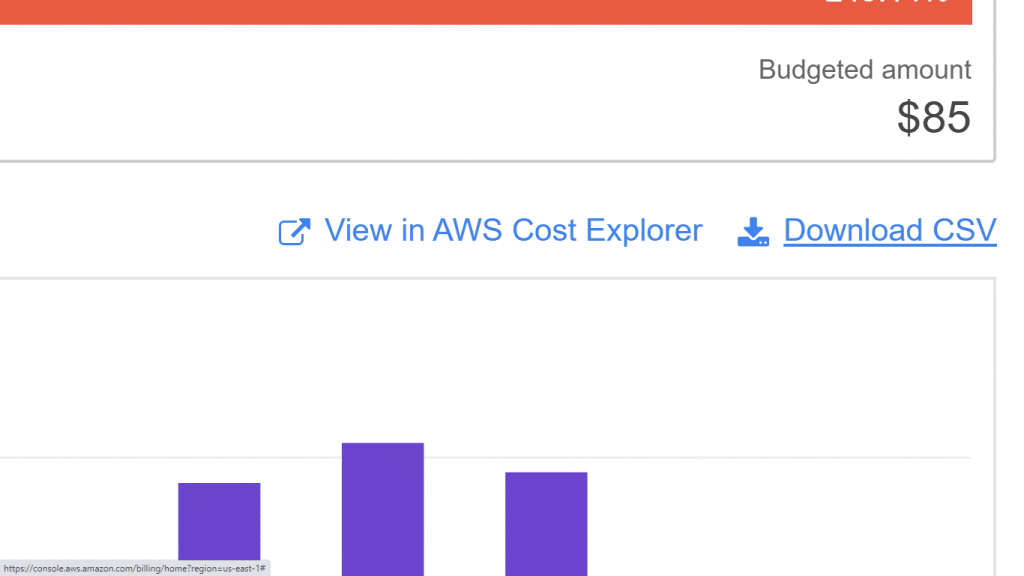
- In the section of Budget History, click on Download as CSV.

Manage AWS Budgets – Download CSV
- Go over the listed instructions on the screen.
Manage AWS Budgets: Edit budgets
- Login to the AWS Management Console. Then, go to the Billing and Cost Management console using the following link https://console.aws.amazon.com/billing/.
- From navigation pane, click on Budgets.
- From the page of Budgets, click on the budget for editing.
- Click on Edit budget.
- Make changes to the necessary parameters. It’s not possible to make changes to the name of your budget.
- Select the option Configure alerts.
- Click on Confirm budget.
- Click on Done.
Manage AWS Budgets: Download budgets
- Login to the AWS Management Console. Then, go to the Billing and Cost Management console using the following link https://console.aws.amazon.com/billing/.
- From navigation pane, click on Budgets.
- Click on Download CSV.
- You can either choose to open or to save the file.
Manage AWS Budgets: Copy budgets
- Login to the AWS Management Console. Then, go to the Billing and Cost Management console using the following link https://console.aws.amazon.com/billing/.
- From navigation pane, click on Budgets.
- Out of the listed budgets, click on the name of the budget for copying.
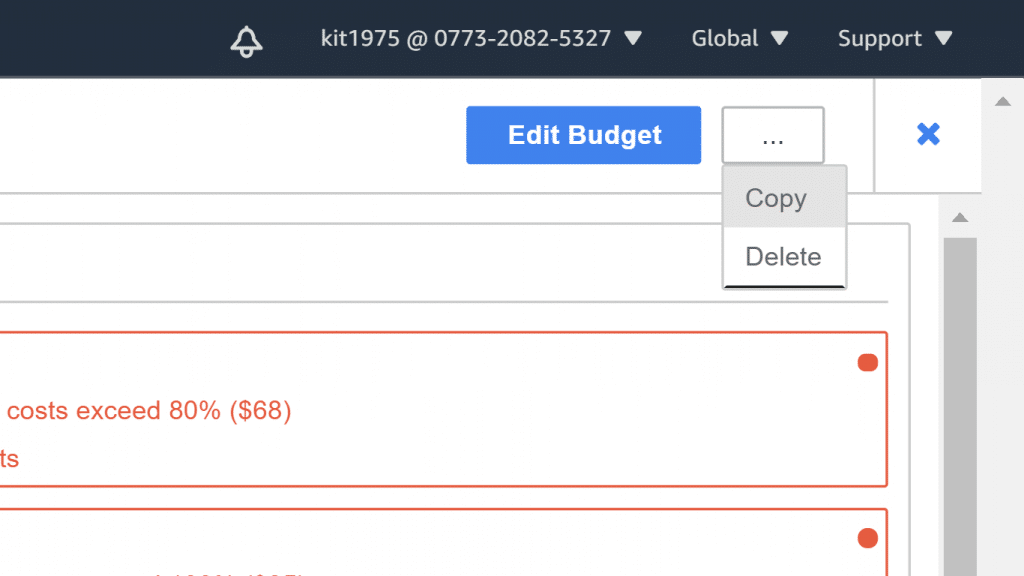
- From the upper page, select the option “…” and click on Copy.

Manage AWS Budgets – Copy Budget
- Make changes to the required parameters. You will have to make changes to the name of your budget.
- Click on the option Configure alerts.
- Click on Confirm budget.
- Click on the button Create.
Manage AWS Budgets: Delete budgets
For the sake of deleting any unwanted budgets, go over the below steps.
- Login to the AWS Management Console. Then, go to the Billing and Cost Management console using the following link https://console.aws.amazon.com/billing/.
- From navigation pane, click on Budgets.
- From the page of Budgets, click on the name of your needed budget.
- From the box of budget page, from below “…”, click on Delete.
Manage AWS Budgets: Receive budget alerts in Amazon Chime and slack
If you’d like to start getting alerts for your budgets in slack and Amazon Chime, simply go over the below steps.
- Go over how we edited a budget in this section and choose Configure alerts.
- Get an SNS topic added as an alert recipient for a particular alert or set of alerts.
- Choose Confirm Budget.
- Click on Done.
- Go to the AWS Chatbot console.
- Choose your chat client.
- Click on Configure.
- Click on Slack workspace.
- Select a specific channel type.
- Public: For all the users in your workspace to join or view the channel
- Private: For merely the users that are invited to view the channel
- Choose one of the existing IAM roles for the Chatbot for either assigning or creating an IAM role.
- Click on a role name.
- Choose the Amazon SNS Region.
- Choose the SNS topic.
- Click on Configure.
After going through all of the previously mentioned steps, you will have ensured a well managed budgeting of your AWS account. You’re all set to go with no worries whatsoever of any unexpected above the budget expenses. You can even go ahead and check your AWS Account Information to go over alternate billing contacts who will be informed of your future AWS Billing preferences.
AWS Storage Gateway Configuration