AWS Lambda: Create an Application
How to Create a Lambda application?
To create an application, go over and perform the following steps that are mentioned down below:
- Go to Lambda console Applications page.
- Select the option Create application.
- Click on Author from scratch.
- Start off now with the process of configuring the application settings.
– Application name – my-app.
– Repository name – my-app-repo.
– Application description – my application.
– Source control service – CodeCommit.
– Runtime – Node.js 10.x.
– Permissions – Create roles and permissions boundary.
- Click on the button Create.
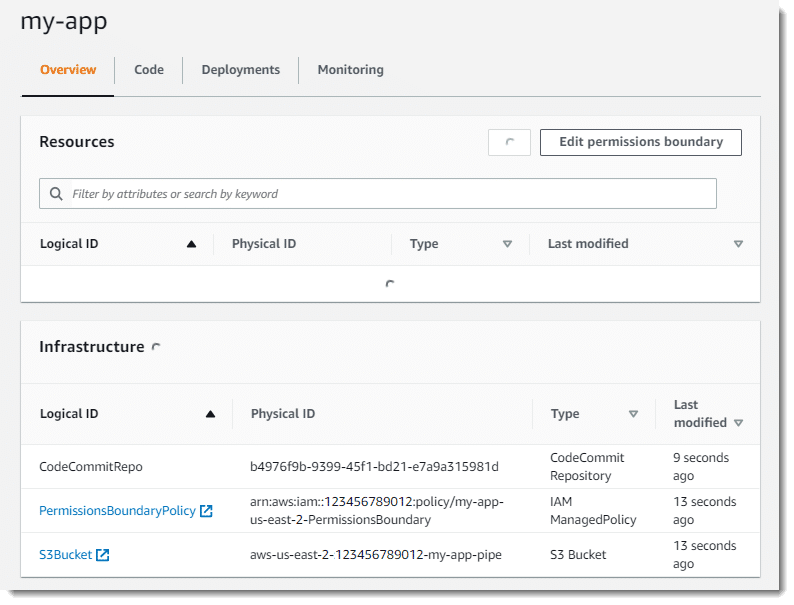
A pipeline is going to be created along with some related resources and sample application code is going to be committed to the Git repository. When resources get created, they are going to start showing up on the overview page.

How to Invoke the function?
For the sake of Invoking the application’s function, you will need to use the following steps that are below:
- Head straight to the Lambda console Applications page.
- Select my-app.
- For the section of Resources, select helloFromLambdaFunction.
- Click on the option Test.
- Get a test event configured.
– Body – {}
– Event name – event
- Click on the button Create.
- Select Test.
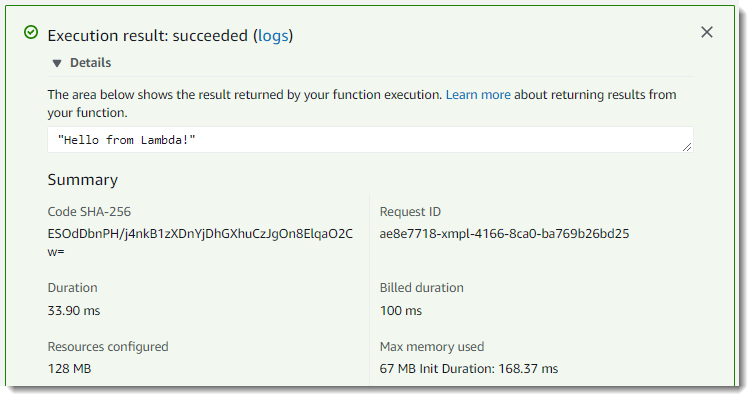
Your function will get executed and the result will be displayed. If you’d like to check the output and the details of execution, you will need to get the Details section expanded.

How to Get a Resource Added?
For the sake of cloning the project repository you will need to go over the following steps that are shown below:
- Go straight to the Lambda console Applications page.
- Select from the list my-app.
- Click on Code.
- For the Repository details, go ahead and copy the HTTP or SSH repository URI, according to which authentication mode you have configured in the setup.
- For getting the repository cloned, utilize the command of git clone.
~$ git clone ssh://git-codecommit.us-east-2.amazonaws.com/v1/repos/my-app-repo
If you’d like to get a DynamoDB table added to the application, you will need to start defining in your template an AWS::Serverless::SimpleTable resource to be included.
For adding a DynamoDB table, you will to go over the following steps that are listed down below:
- Go to the yml using a text editor.
- Get a table resource added, along with an environment variable for passing the table name to your function, as well as a permissions policy for being able to manage the function.
Example having template.yml – resources
…
Resources:
ddbTable:
Type: AWS::Serverless::SimpleTable
Properties:
PrimaryKey:
Name: id
Type: String
ProvisionedThroughput:
ReadCapacityUnits: 1
WriteCapacityUnits: 1
helloFromLambdaFunction:
Type: AWS::Serverless::Function
Properties:
CodeUri: ./
Handler: src/handlers/hello-from-lambda.helloFromLambdaHandler
Runtime: nodejs10.x
MemorySize: 128
Timeout: 60
Description: A Lambda function that returns a static string.
Environment:
Variables:
DDB_TABLE: !Ref ddbTable
Policies:
– DynamoDBCrudPolicy:
TableName: !Ref ddbTable
– AWSLambdaBasicExecutionRole
- Commit then get the change pushed.
~/my-app-repo$ git commit -am “Add DynamoDB table”
~/my-app-repo$ git push
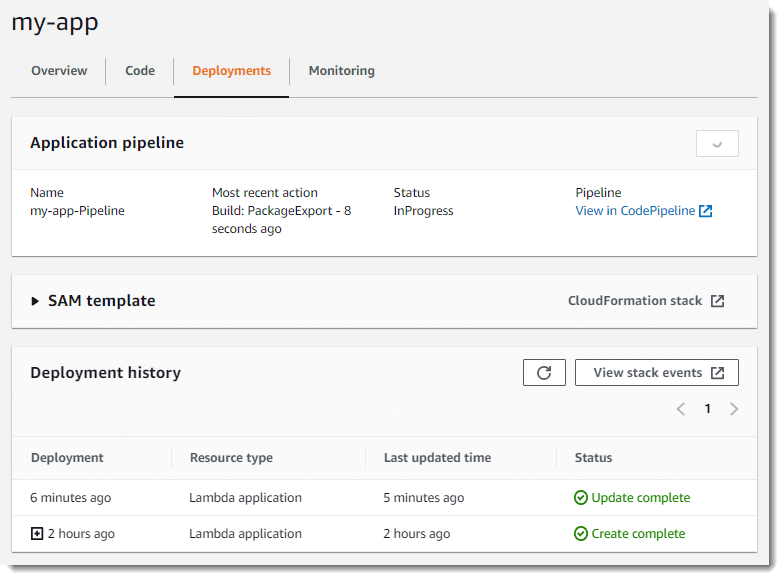
This will trigger the app’s pipeline. If you’d like to track the changes while they flow in your pipeline, utilize the Deployments tab found on the application screen. Upon completing this deployment process, carry on to the following step.

How to get the permissions boundary Updated?
For updating the app’s permissions boundary, do the following steps below:
- Go directly to the Lambda console Applications page.
- Select the application you’ve created.
- For the section of Resources, select the option Edit permissions boundary.
- Go over and perform the directions displayed for the sake of updating the boundary to make it provide access to the new table.
How to get the function code Updated?
For the sake of updating your function code, do the following steps below:
- Get a new handler added having the name of “js”to the folder named src/handlers and the handler must include the below listed content.
Example of an src/handlers/index.js
| const dynamodb = require(‘aws-sdk/clients/dynamodb’); |
| const docClient = new dynamodb.DocumentClient(); |
| exports.handler = async (event, context) => { |
| const message = ‘Hello from Lambda!’; |
| const tableName = process.env.DDB_TABLE; |
| const logStreamName = context.logStreamName; |
| var params = { |
| TableName : tableName, |
| Key: { id : logStreamName }, |
| UpdateExpression: ‘set invocations = if_not_exists(invocations, :start) + :inc’, |
| ExpressionAttributeValues: { |
| ‘:start’: 0, |
| ‘:inc’: 1 |
| }, |
| ReturnValues: ‘ALL_NEW’ |
| }; |
| await docClient.update(params).promise(); |
| const response = { |
| body: JSON.stringify(message) |
| }; |
| console.log(`body: ${response.body}`); |
| return response; |
| } |
- Access the app template then make changes to the handler value so that it becomes: src/handlers/index.handler.
Example of template.yml
…
helloFromLambdaFunction:
Type: AWS::Serverless::Function
Properties:
CodeUri: ./
Handler: src/handlers/index.handler
Runtime: nodejs10.x
- Get the change committed and then pushed.
~/my-app-repo$ git add . && git commit -m “Use DynamoDB table”
~/my-app-repo$ git push
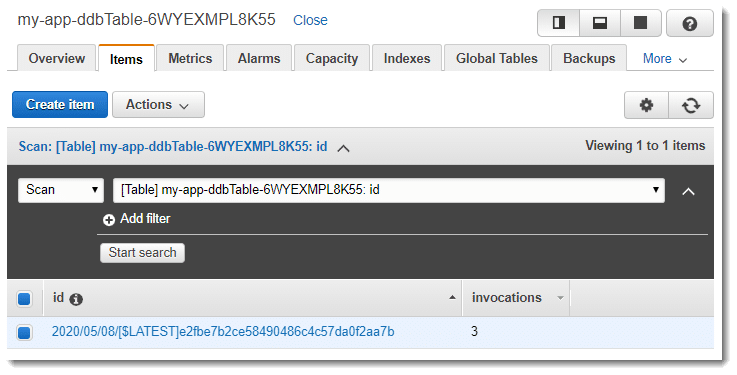
Upon deploying the processed code change, you will need to get the function invoked for a couple of times in order to get the DynamoDB table updated.
For the sake of viewing your DynamoDB table, do the following steps mentioned below:
- Go straight to the Tables page of the DynamoDB console.
- Select the table which begins with my-app.
- Select Items.
- Click on the option Start search.
