AWS IAM Console: Create A Policy
How to Create IAM Policies Using the Console?
It’s possible to create a customer managed IAM policy using the Management Console through 1 of the below ways:
- Import: Importing and customizing a managed IAM policy inside your account. You are capable of importing a customer managed IAM policy or a managed policy which was created before.
- Visual editor: Using the visual editor to create a new IAM policy. In this case, there will be no need to learn the JSON syntax.
- JSON: Pasting and customizing an identity-based example policy.
How to Create A Policy on JSON Tab?
Policies can be entered or pasted in JSON through selecting the JSON tab. Such a way is considered of good use for the sake of getting an example IAM policy copied so that it’s utilized in your account.
Your JSON policy document is going to be made up of multiple statements.
For the sake of using the JSON policy editor in order to get a policy created:
- Login to the Management Console then head straight to the IAM console through the following link https://console.aws.amazon.com/iam/.
- From left navigation pane, click on Policies.
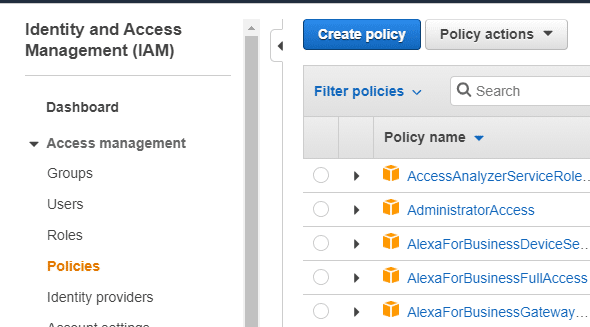
- Select the option Create policy.

- Click on the JSON
- Enter or paste a chosen JSON policy document.
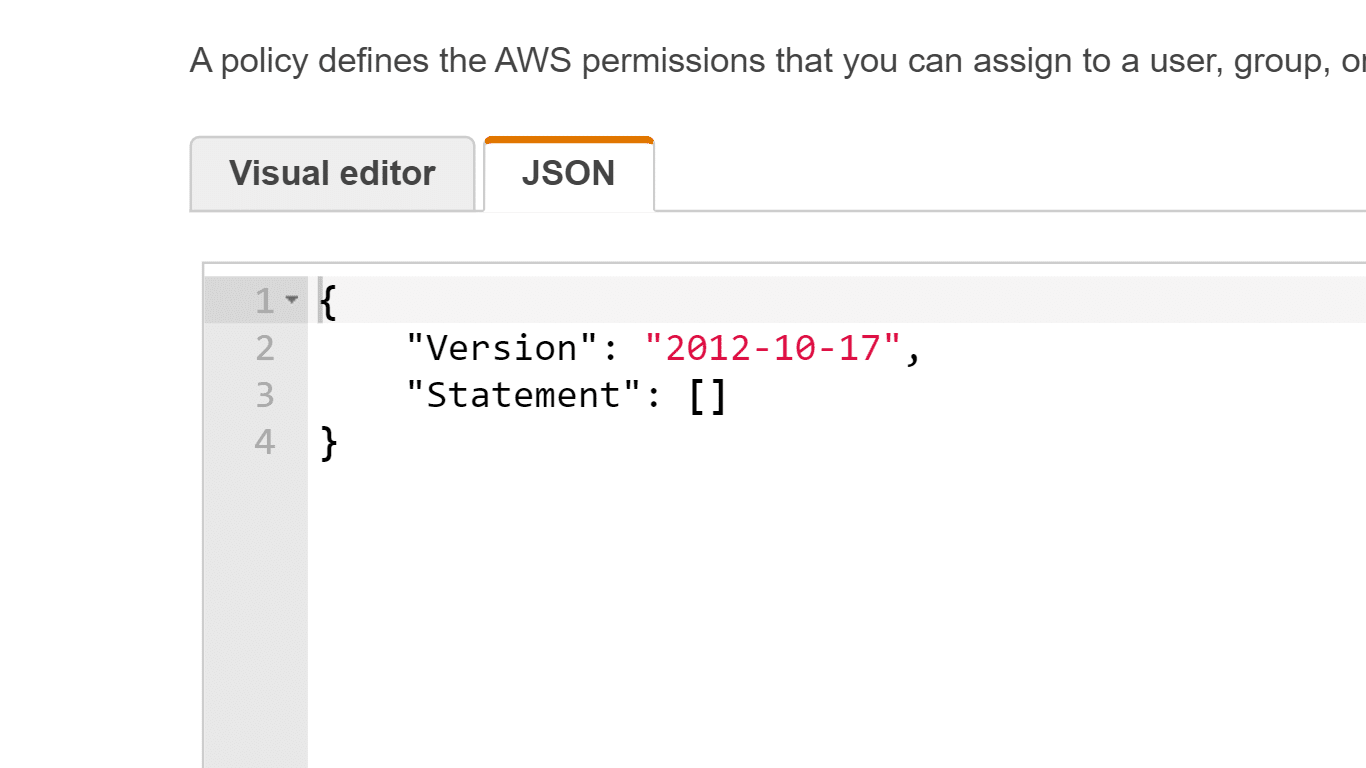
- After finishing, select Review policy, and the Policy Validator will report whatever syntax errors may occur.
Keep In Mind
Switching between Visual editor and JSON tabs can always be made whenever necessary. Yet, in case of performing any changes or selecting Review policy from the tab of Visual editor, your policy can get restructured by IAM for the sake of optimizing it for visual editor.
- From Review page, enter a unique Name and an optional Description for this policy. Those settings may not get edited afterwards. Go over the Summary of the policy in order to check the granted permissions by your policy. After that, click on Create policy for saving your work.
Upon finishing the creation of a new IAM policy, you will then be able to get it attached to specific roles, users or groups that you have.
How to Import Existing Managed Policies?
Remember that an inline policy is not capable of being imported.
For the sake of importing in the visual editor an existing managed policy:
- Login to the Management Console and head to the IAM console using the following link https://console.aws.amazon.com/iam/.
- From left navigation pane, click on Policies.
- Select Create policy.
- Click on the Visual editor tab, then at the right, select the option Import managed policy.
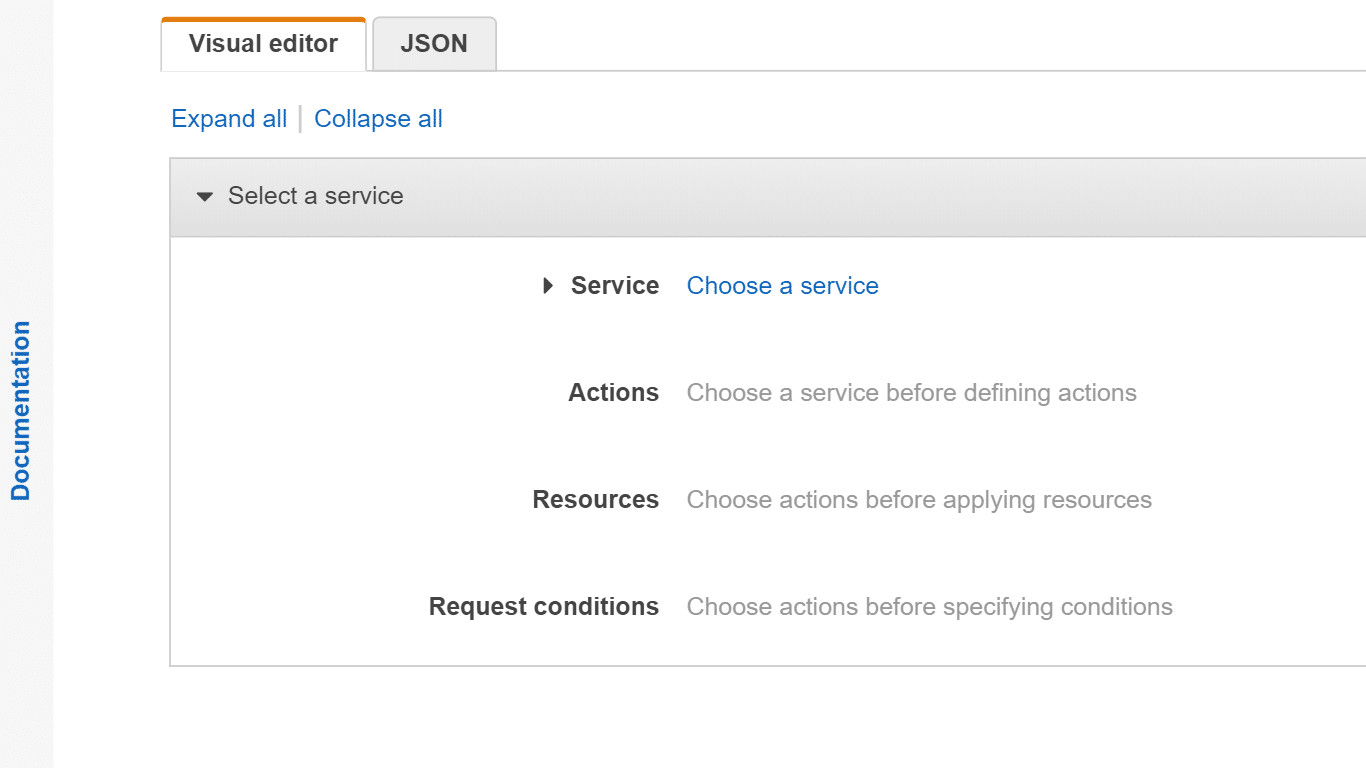
- From Import managed policies window, select the managed policies which are similar to the policy you’re going to add to the newly created policy. You are capable of utilizing the Filter menu, otherwise you can enter into the search box that is located above, in order to get specifically required results showing up in the IAM policy list.
- Click on Import.
Imported IAM policies will be included in new permission blocks located at the very end of the policy.
- Choose to utilize either the Visual editor or JSON for the sake of customizing the policy. After this, click on Review policy.
- From Review page, enter a unique Name and an optional Description for this policy. Those settings may not get edited afterwards. Go over the Summary of the policy then click on Create policy for the sake of getting your work saved.
For the sake of importing in the JSON tab an existing managed policy :
- Login to the Management Console then head straight to the IAM console using this link https://console.aws.amazon.com/iam/.
- From the left navigation pane, click on Policies.
- Select the option Create policy.
- Select JSON tab, then from the right side, click on Import managed policy.
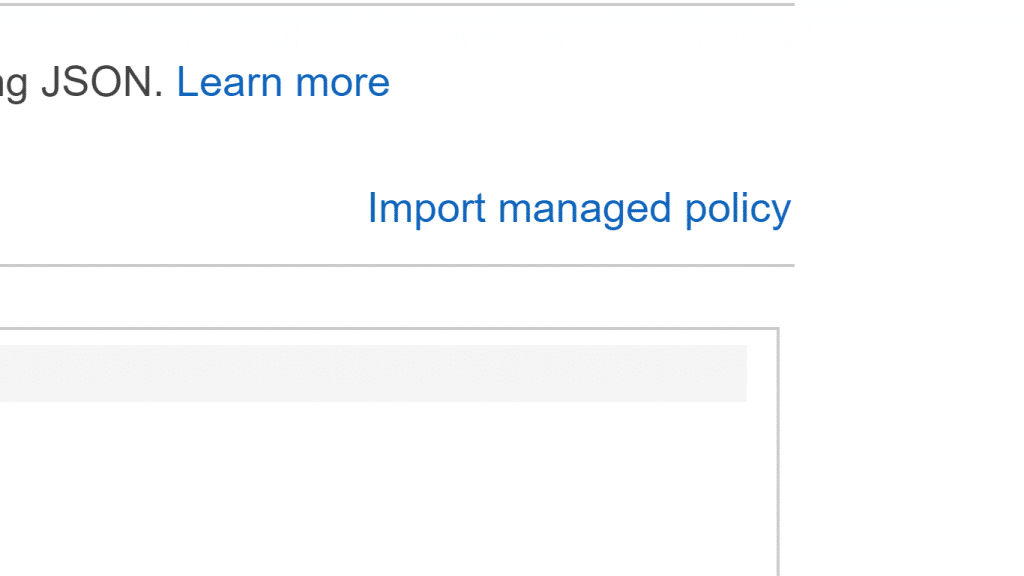
- From Import managed policies window, select the required managed IAM policies which are similar to the policy you’re going to add to the new policy. You are capable of utilizing the Filter menu, otherwise you can enter into the search box that is located above, in order to get specifically required results showing up in the policy list.
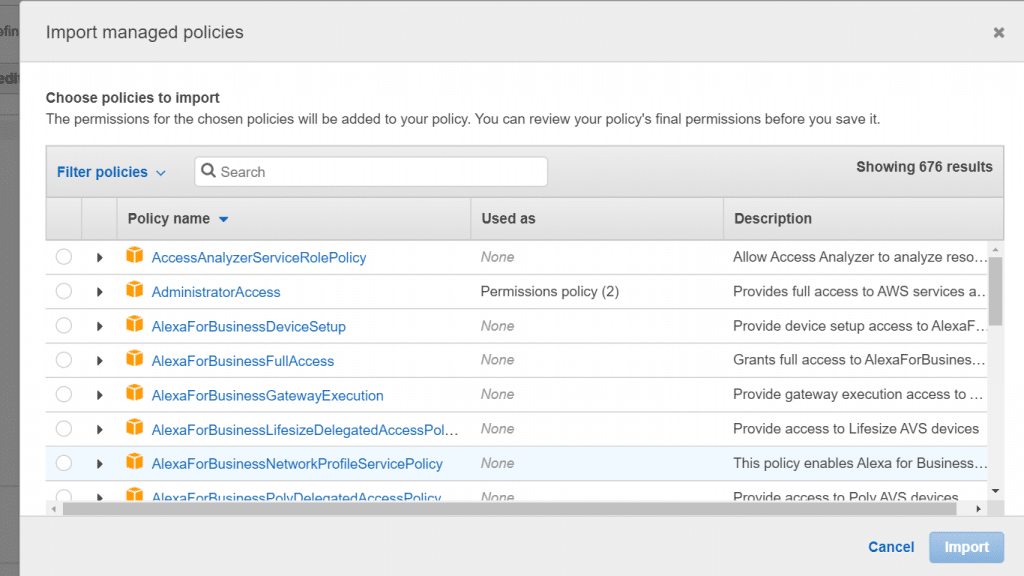
- Click on Import.
The imported IAM policies’ statements will get added below at the end of your JSON policy.
- Get your IAM policy customized in JSON, otherwise select the Visual editor. After that, click on Review policy.
- From Review policy page, enter a specific Name and an optional Description for your IAM policy. They are not capable of being edited later on. Go over your policy’s Summary then click on the option Create policy for the sake of getting your work saved.