AWS Purchase Order
It is possible to utilize the Billing and Cost Management console for adding an AWS Purchase Order for using in your billed invoices. To add an AWS Purchase Order, you have to go through a two-step process that includes the following: Purchase orders as well as Line Item Configurations.
For adding an AWS Purchase Order, go over the below steps:
- Login to the AWS Management Console. Then, head to the Billing and Cost Management console using the following link https://console.aws.amazon.com/billing/.
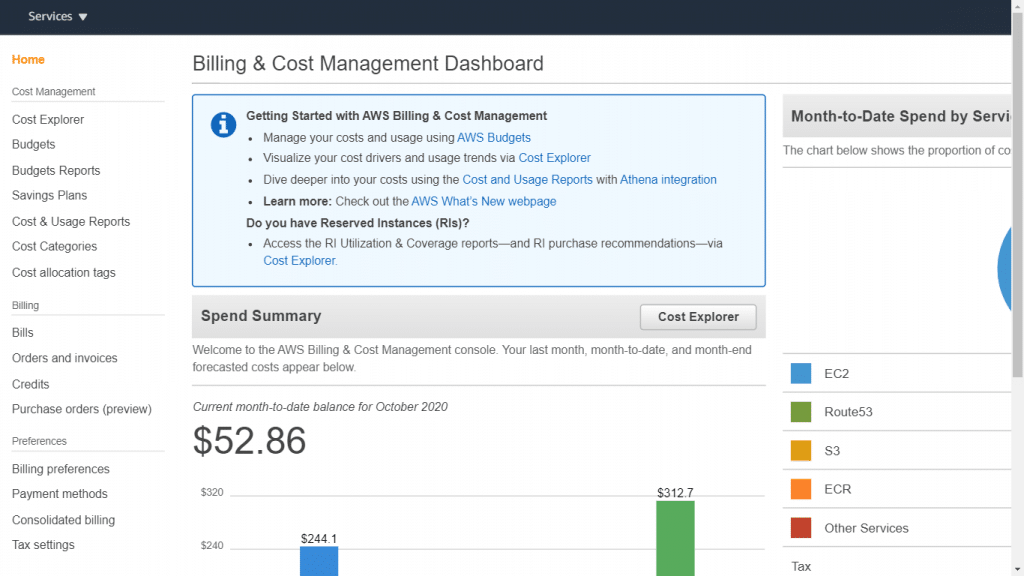
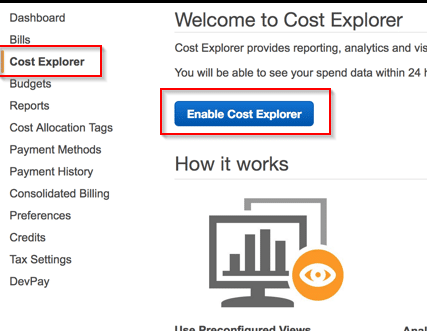
AWS Purchase Order – Billing and Cost Management Console
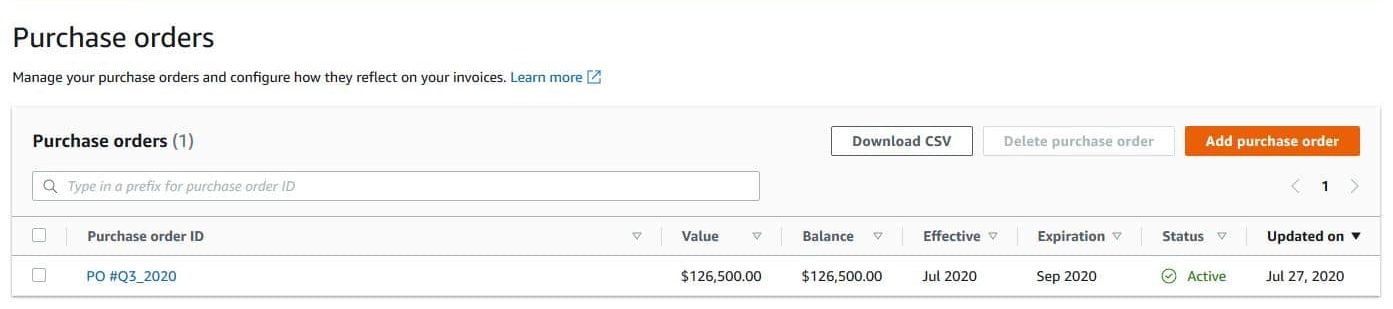
- From navigation pane, select the option Purchase orders.
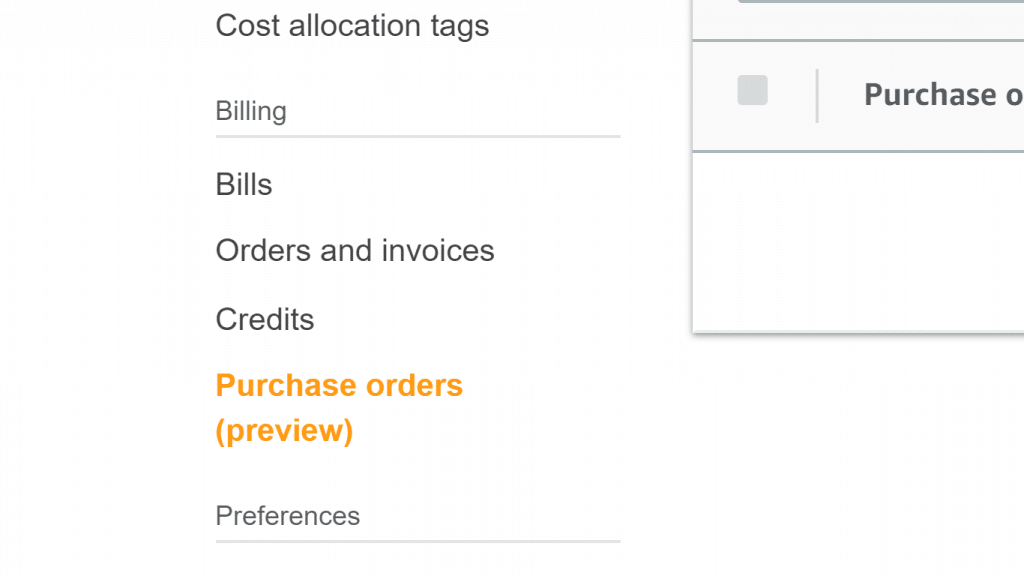
AWS Purchase Order – Purchase Orders Section
- Select the option Add purchase order.
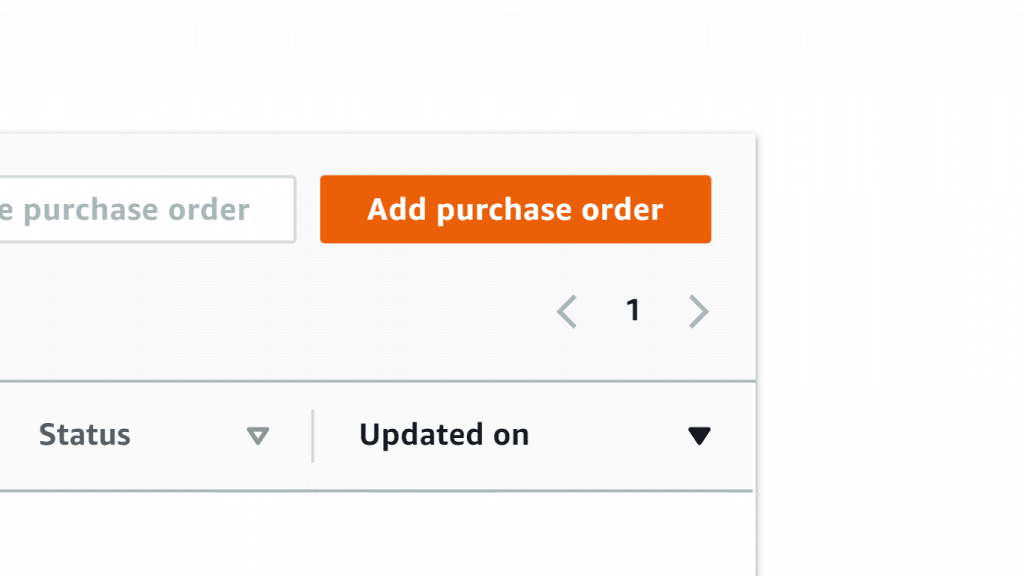
AWS Purchase Order – Add new Purchase Order
- In the field of Purchase order ID, type in your purchase order ID. Purchase order IDs have to be special inside your account.
- It is optional in the section of Description, to enter details about your purchase order, in addition to any notes as reference.
- In the section of Ship to, fill in your required shipping address.


You can optionally click on Copy Bill to address for the sake of copying and editing the address which is generated from your field of Bill to. AWS Bills can actually be tricky so you can learn more about them by checking the AWS Billing article.
- In the section of Bill from, select which AWS billing entity which sends you your invoice.
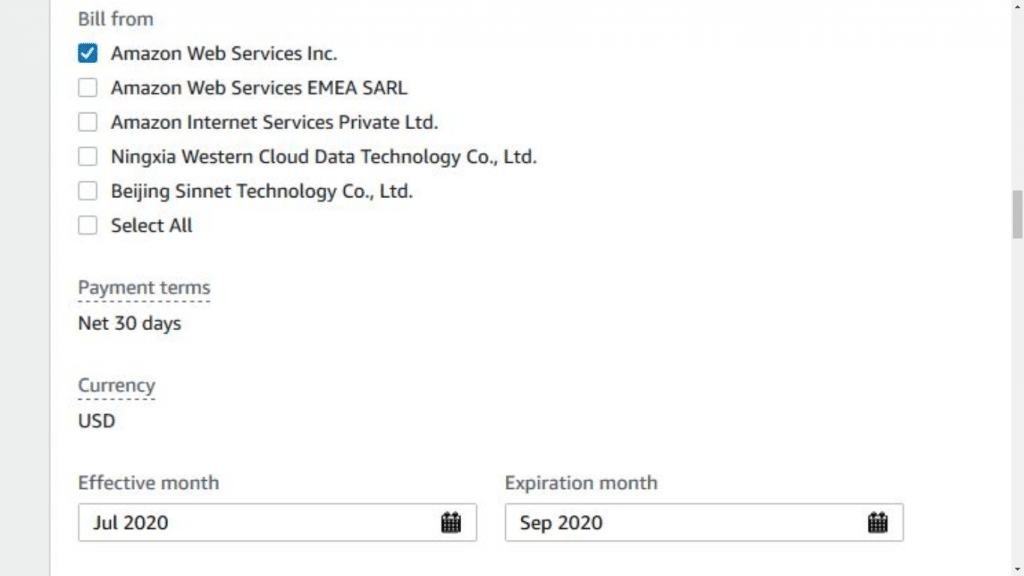
AWS Purchase Order – Bill From, Effective and Expiration Months
- In the section of Effective month, select which month you’d like to get your purchase order started from.
- For Expiration month, select which month you’d like your purchase order to end at.
- You can optionally fill in for the section of Purchase order contacts, a contact name, an email address, and a specific phone number. It is possible to keep adding a maximum of ten contacts.
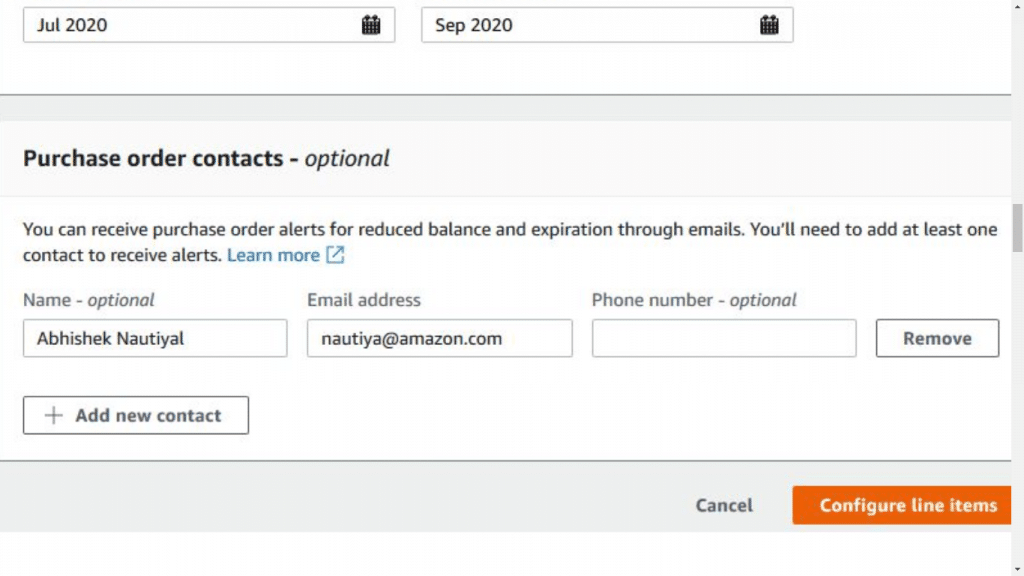
AWS Purchase Order – Purchase Order Contacts
- Select the option Configure line items.
- In the section of Line item number, fill in the number of your line item.
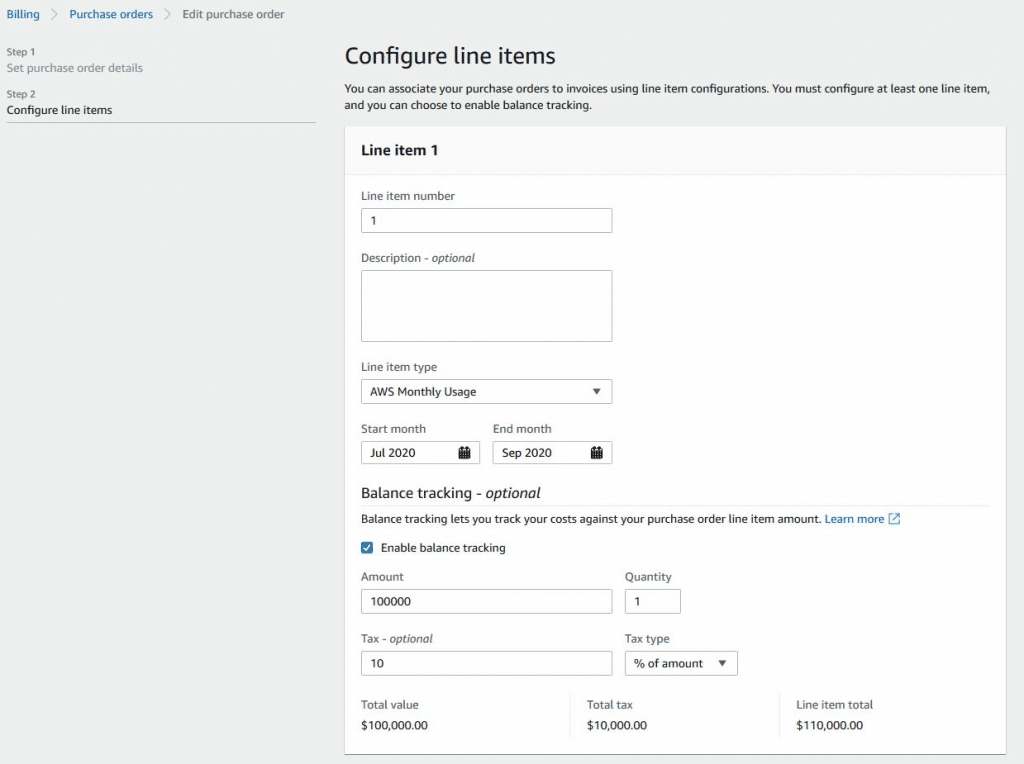
AWS Purchase Order – Configure Line Items
- It is optional to fill in for Description, some details for describing the line item.
- In the section of Line item type, select which type of line item you’d like to go with.
- In the section of Start month, select the required month for starting your line item. It’s not capable of being a time period earlier than that of your purchase order’s Effective month.
- In the section of End month, select in which month you’d like to end your line item. It should be earlier than your purchase order Expiration month.
- You can optionally select the option of Enable balance tracking for the sake of tracking your line item’s balance.
- In the section of Amount, fill in the total amount of your purchase order line item.
- In the section of Quantity, fill in the quantity amount.
- You can optionally fill in for Tax, the tax amount, which could be an absolute value or a % of the amount for line item.


In the section of Tax type, select the option of % of amount for filling in a required percentage, or amount in $ for filling in an absolute tax amount.
- For the sake of adding more line items, select the option Add new line item.
- Select the option Submit purchase order.
How can you edit your AWS Purchase Order?
For editing an AWS Purchase Order, go over the below steps:
- Go to the Billing and Cost Management console using the following link https://console.aws.amazon.com/billing/.
- From navigation pane, select the option Purchase orders.
- Click on the purchase order needed for editing.
- Select the option Edit purchase order.
- Make changes to whichever parameters you’d like. However, Purchase order IDs are not capable of being changed.
- Select the option Configure line items.
- Select the option Submit purchase order.
For adding a line item, go over the below steps:
- Go to the Billing and Cost Management console using the following link https://console.aws.amazon.com/billing/.
- From navigation pane, select the option Purchase orders.
- Select which purchase order you’d like to edit.
- For the section of Line items, select the option Add line item.
- Make changes to the information as required.
- Select the option Save line item.
For editing a line item, go over the below steps:
- Go to the Billing and Cost Management console using the following link https://console.aws.amazon.com/billing/.
- From navigation pane, select the option Purchase orders.
- Select which purchase order you’d like to edit.
- From the section of Line items, select the option Edit.
- Make changes to the line item information as necessary.
- Select the option Save line item.
For deleting a line item, go over the below steps:
- Go to the Billing and Cost Management console using the following link https://console.aws.amazon.com/billing/.
- From navigation pane, select the option Purchase orders.
- Select which purchase order you’d like to edit.
- Click on every single item from the line items for deleting out of the Line items
- Select the option Delete.
- Select the option Confirm.
For changing the status of your AWS Purchase Order, go over the below steps:
- Go to the Billing and Cost Management console using the following link https://console.aws.amazon.com/billing/.
- From navigation pane, select the option Purchase orders.
- Select which purchase order you’d like to edit.
- Select the option Change status.
- Pick a suitable status of your choice:
Suspended: Purchase order not utilized for the sake of invoice association.
Active: Purchase order not utilized for the sake of invoice association.
- Select the option Change status.