Create AWS Endpoints
In order to create AWS Endpoints to an AWS service through the console, go over the below steps:
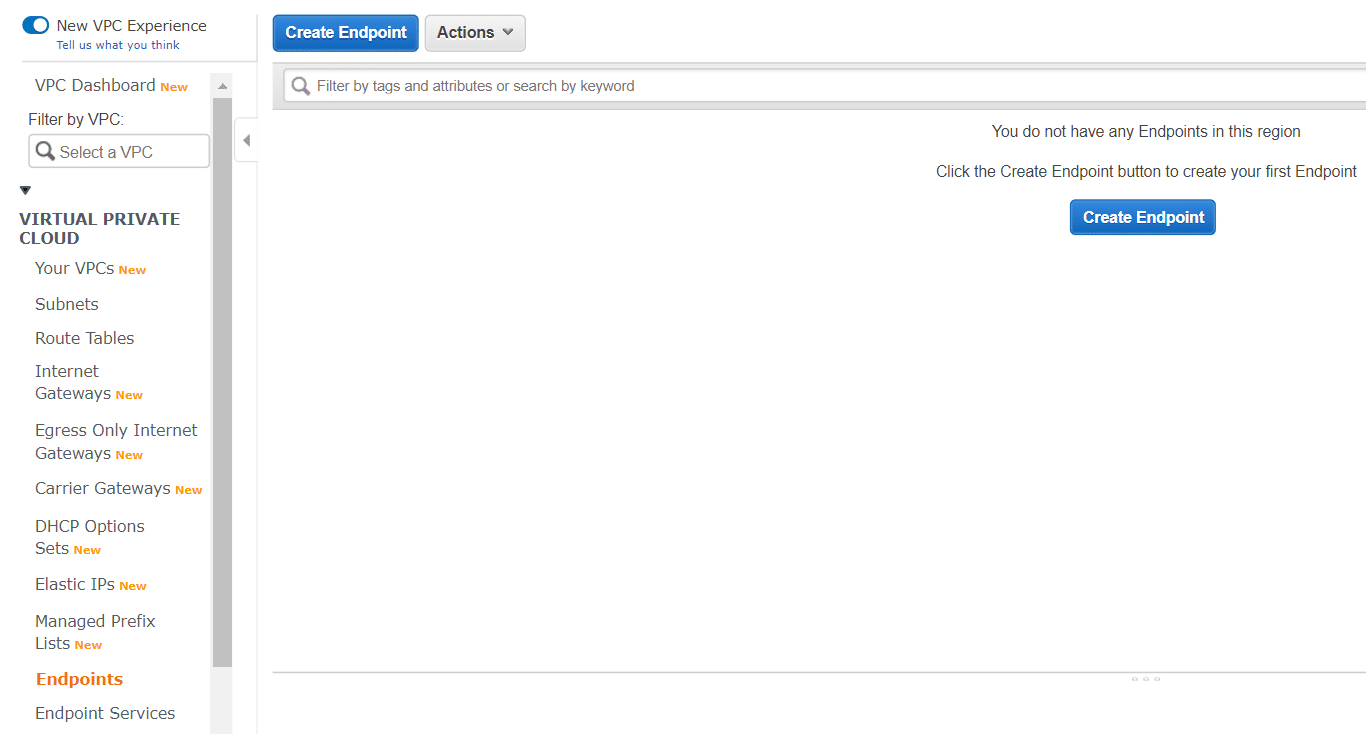
- Go to the Amazon VPC console using the following link https://console.aws.amazon.com/vpc/.
Create AWS Endpoints – Endpoints
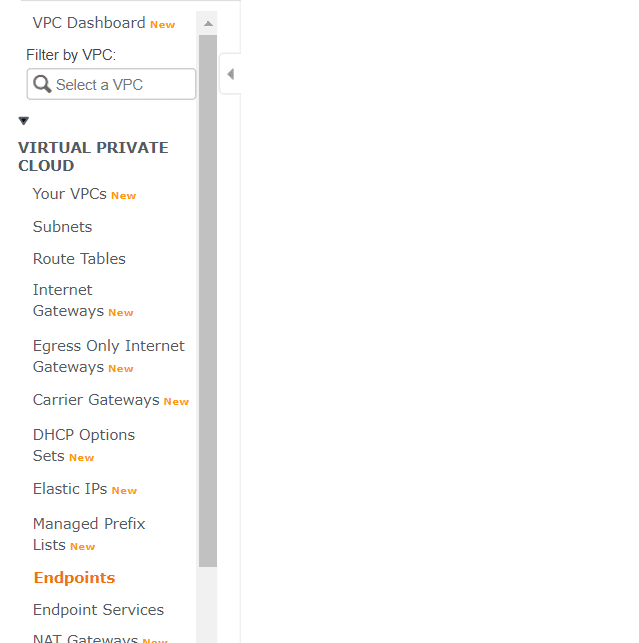
- From the navigation pane, select Endpoints, Create Endpoint.

Create AWS Endpoints – Create Endpoint
- In the section of Service category, make sure that “AWS services” is the chosen option.
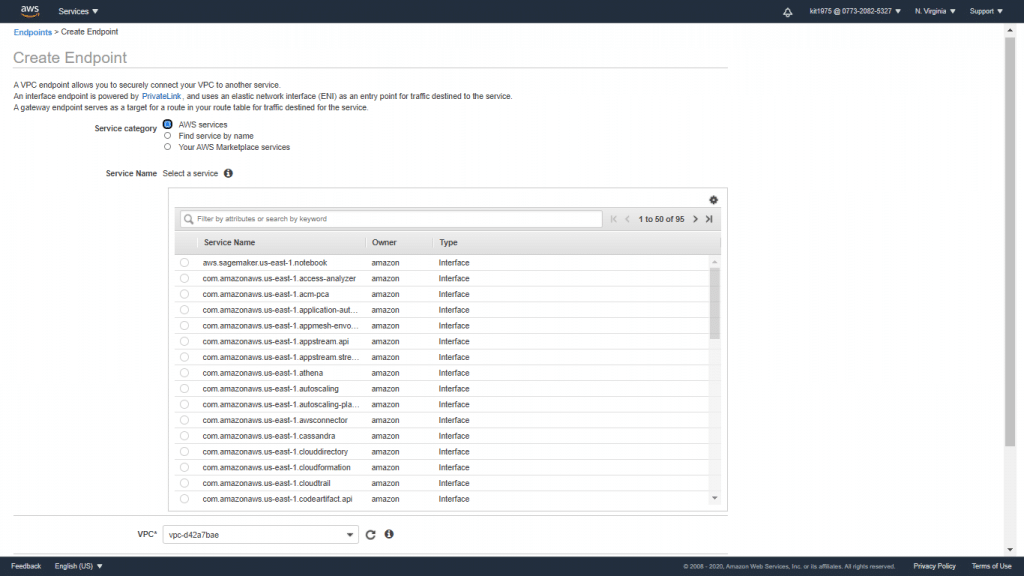
Create AWS Endpoints – AWS Services
- In the section of Service Name, select which service you want to connect to. In the section of Type, make sure that it shows Interface.
- Finish the below necessary information then select Create endpoint.
- In the section of VPC, choose a VPC for creating the endpoint.
- In the section of Subnets, choose the subnets (Availability Zones) for creating the endpoint network interfaces.
- In order to enable private DNS associated with the interface endpoint, in the section of Enable DNS Name, choose the check box.
- In the section of Security group, choose the needed security groups for associating them with the endpoint network interfaces.
- You can optionally get a tag added or removed.


For adding an AWS Tag: Select Add tag then go over the below:
-
-
- In the section named Key, fill in a specific key name.
- In the section named Value, fill in a specific key value.
-
For removing a tag: Select the delete button (“x”) on the right.
By this, you would have learned how to create AWS Endpoints to an AWS service through the console.
In order to get an interface endpoint created to an endpoint service, you will need to have the name of the service that you’d like to connect to. You can get the name from the service provider.
In order to create AWS Endpoints to an endpoint service, go over the below steps:
- Go to the Amazon VPC console through the following link https://console.aws.amazon.com/vpc/.
- From navigation pane, click on Endpoints, Create Endpoint.
- In the section of Service category, select Find service by name.
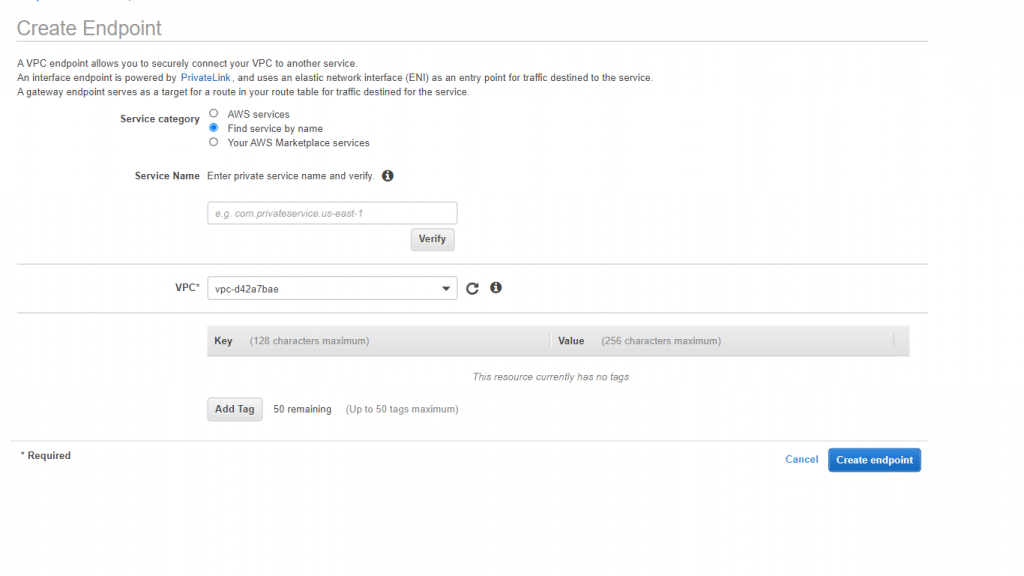
Create AWS Endpoints – Find Service By Name
- In Service Name, type in the service’s name (such as: “com.amazonaws.vpce.us-east-1.vpce-svc-0e123abc123198abc”) then click on Verify.
- Finish the below necessary information then select Create endpoint.
- In the section of VPC, choose a VPC for creating the endpoint.
- In the section of Subnets, choose the subnets (Availability Zones) for creating the endpoint network interfaces.
- In order to enable private DNS associated with the interface endpoint, in the section of Enable DNS Name, choose the check box.
- In the section of Security group, choose the needed security groups for associating them with the endpoint network interfaces.
- You can optionally get a tag added or removed.

For adding a tag: Select Add tag then go over the below:
-
-
- In the section named Key, fill in a specific key name.
- In the section named Value, fill in a specific key value.
-
For removing a tag: Select the delete button (“x”) on the right.
By this, you would have learned how to create AWS Endpoints to an endpoint service.
In order to create AWS endpoints to an AWS Marketplace Partner service, go over the below steps:
- Open the PrivateLink page in AWS Marketplace then get subscribed to a service from a SaaS provider. The services which can be used with the interface endpoints will have an option for connecting via an endpoint.
- Go to the Amazon VPC console using the following link https://console.aws.amazon.com/vpc/.
- From navigation pane, click on Endpoints, Create Endpoint.
- In the section of Service category, select the option Your AWS Marketplace services.
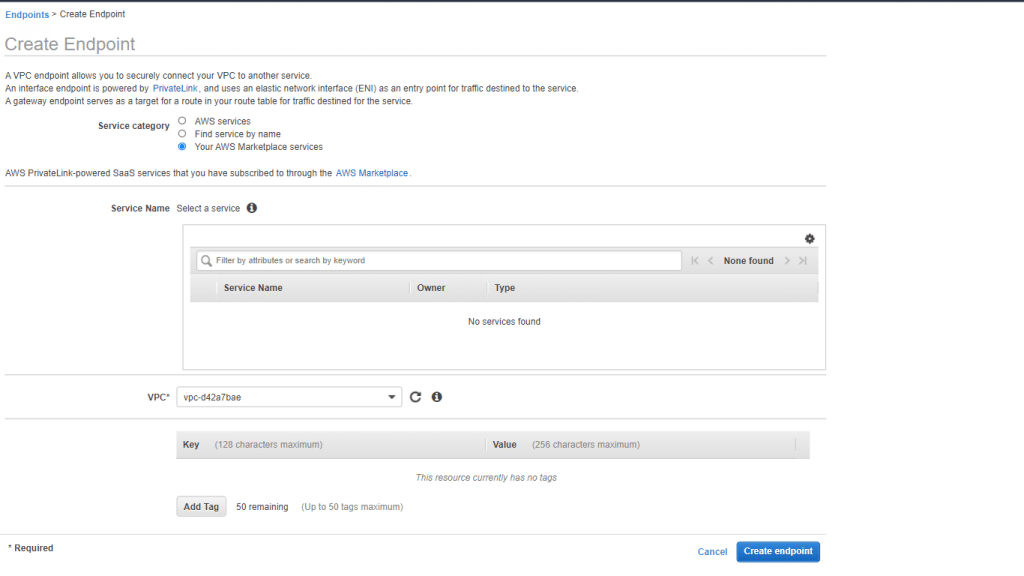
Create AWS Endpoints – Your AWS Marketplace services
- Select the AWS Marketplace service that you subscribed to.
- Finish the below necessary information then select Create endpoint.
- In the section of VPC, choose a VPC for creating the endpoint.
- In the section of Subnets, choose the subnets (Availability Zones) for creating the endpoint network interfaces.
- In order to enable private DNS associated with the interface endpoint, in the section of Enable DNS Name, choose the check box.
- In the section of Security group, choose the needed security groups for associating them with the endpoint network interfaces.
- You can optionally get a tag added or removed.

For adding a tag: Select Add tag then go over the below:
-
-
- In the section named Key, fill in a specific key name.
- In the section named Value, fill in a specific key value.
-
For removing a tag: Select the delete button (“x”) on the right.
By this, you would have learned how to create AWS endpoints to an AWS Marketplace Partner service.
How to Remove SageMaker endpoints then Shutdown a Notebook Instance?
For Removing EndPoints, go over the below steps:
After knowing how to create AWS Endpoints, you should know that you will get charged whenever you leave your endpoints running. In the cases of development and testing, it is recommended that you start cleaning-up the endpoint whenever you get done with your testing through going over the following steps:
- Login to the Management Console.
- Head straight to the SageMaker Console.
- On the Navigation Pane, click on the option ‘EndPoints’.
- Choose which EndPoint you want to delete then from ‘Actions’ remove this selected endpoint.
For Stopping a Notebook instance, go over the below steps:
- Login to the Management Console.
- Head to the SageMaker Console.
- On the Navigation Pane, click on the option ‘Notebook’.
- Choose which Notebook instance you want to stop.
- Below ‘Actions’, click on the option ‘Stop’ for shutting down the selected instance.
It couldn’t get any simpler than that for you to learn how to create AWS Endpoints for VPC. Also, you have discovered some quick steps on how to remove your SageMaker Endpoints and stop a Notebook Instance which is running on an endpoint.