AWS Lightsail: Create A Load Balancer

AWS Lightsail: Create A Load Balancer

What is a Lightsail load balancer?

It is what distributes incoming web traffic over various other Lightsail instances that are located in different Availability Zones.

Why do we need it?

By load balancing we will increase the fault tolerance of your app and its availability on your instances.

Instances may be added or even removed from your Lightsail load balancer as requirements differ, with no lagging of the whole incoming number of requests to a specific app.

Lightsail load balancing helps in creating a DNS host name then get whatever request that are sent to it to become routed to a pool of selected instances. Multiple target instances can be added to a load balancer, while remaining within the total number of instances quotas.

Its features include the following:

The below features may get configured:

  • HTTPS is capable of being set up through a validated SSL/TLS certificate to give the load balancer the ability for handling encrypted traffic.

Keep in mind

Lightsail load balancers are capable of handling unencrypted traffic requests which refers to HTTP using port 80.

  • Lightsail load balancers are capable of performing health checks by default on attached instances at the root of the web application. They provide monitoring over the health of instances in order to allow load balancers to merely send the requests to instances that are healthy.
  • Session persistence may be enabled for the users, which is considered of great use when attempting to locally store session information in the browser of a user.

As an example: when you run using Lightsail a Magento e-commerce app with a shopping cart. In case the users tend to get items added to their shopping cart, later on they end the session and return, they will find that their items have remained there in case of turning on session persistence.


How to Create a load balancer and get instances attached to it?

Get a Lightsail load balancer created for the sake of handling extra traffic or for adding redundancy to an app. Upon the creation of a load balancer, Lightsail instances, which you need to get balanced, may be attached.

Prerequisite Step:

Prior to starting, you must ensure that the Lightsail instances have been prepared for the start of load balancing.

Get a Lightsail load balancer Created:

  1. First off, you need to login to your Lightsail console.
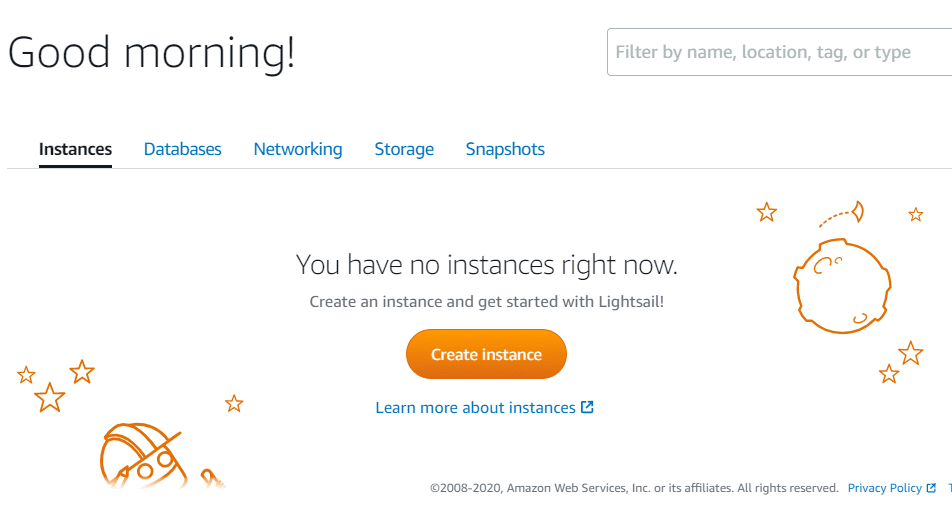
AWS Lightsail: Create A Load Balancer

AWS Lightsail: Create A Load Balancer


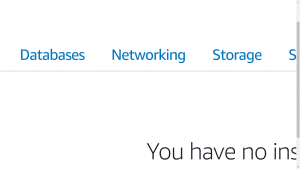
2. Click on the Networking tab.
AWS Lightsail: Create A Load Balancer

AWS Lightsail: Create A Load Balancer


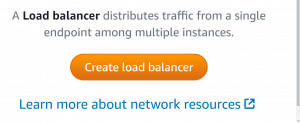
3. Select the option of Create load balancer.
 

4. Verify the Region for creating your load balancer, otherwise click on the option Change region for the sake of choosing another region that you prefer.

Keep in Mind

Your load balancer is going to get created having a port 80 open for the sake of accepting HTTP requests. Upon getting your required load balancer created and ready, you will be able to get an SSL/TLS certificate created and also you can get the HTTPS configured.

5. Fill in a unique name for the load balancer you’ve created.

Characteristics of your resource names:

-Unique within every Region found in the Lightsail account.

-Begin and finish using a number or an alphanumeric character.

-2 till 255 characters.

-May have numbers, dashes, alphanumeric characters, periods, as well as underscores.


6. Select 1 of the below choices for adding tags to the load balancer:

      • Edit key-only tags in case they were added before, or get new ones added. Fill in your newly added tag inside the tag key section, then click on the Enter button. Select Save upon finishing with filling in your tags for getting them added, or click on Cancel if you choose not to get them added.


    • Get a new key-value tag created, and type in a key inside the Key section, as well a specific value inside the Value section. Click on Save upon finishing with filling in the tags, otherwise click on the Cancel button if you don’t wish to get them added.

You may merely add key-value tags each on its own prior to getting them saved. For the sake of adding multiple key-value tags, go over the steps we did before.


7. Click on the option Create load balancer.


How to Attach Lightsail instances?

Upon the creation of a load balancer, Lightsail will migrate you to the “load balancer management” page. In case you require to go back to this age once again, click on the Networking tab located on Lightsail home page, then go ahead and select the Lightsail load balancer name that you wish to manage.

Keep in Mind

Lightsail instances need to run prior to being able to get them attached to the load balancer.

  1. From your load balancer management page, click on the option Target instances.
  2. Select an instance from the drop-down menu of the Target instances.
  3. Click on Attach, and keep in mind that the attachment is capable of taking a couple of minutes.

For getting a different instance attached to your load balancer, click on the option of Attach another, then go over the preceding steps.

Steps to be taken later on:

Upon creating your load balancer, as well as getting your required instances attached, finish the below steps to be taken later on for configuring the load balancer:

  • Get an SSL/TLS certificate created for the load balancer
  • Get the health check customized for the load balancer
AWS ec2 scheduling

What is AWS Lightsail

AWS Lambda – Create an Application

AWS Lambda: Create an Application

How to Create a Lambda application?


To create an application, go over and perform the following steps that are mentioned down below:

  1. Go to Lambda console Applications page.
  2. Select the option Create application.
  3. Click on Author from scratch.
  4. Start off now with the process of configuring the application settings.

– Application name – my-app.

– Repository name – my-app-repo.

– Application description – my application.

– Source control service – CodeCommit.

– Runtime – Node.js 10.x.

– Permissions – Create roles and permissions boundary.

  1. Click on the button Create.

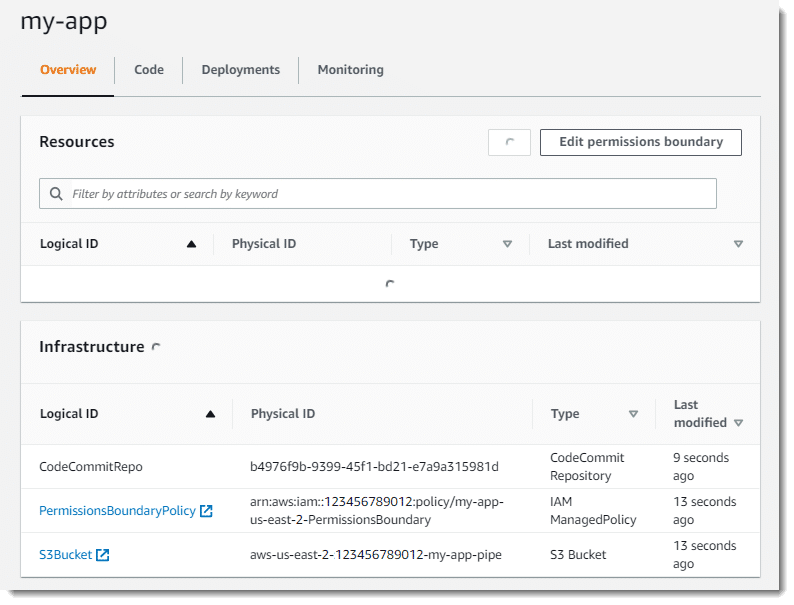
A pipeline is going to be created along with some related resources and sample application code is going to be committed to the Git repository. When resources get created, they are going to start showing up on the overview page.


How to Invoke the function?

For the sake of Invoking the application’s function, you will need to use the following steps that are below:

  1. Head straight to the Lambda console Applications page.
  2. Select my-app.
  3. For the section of Resources, select helloFromLambdaFunction.
  4. Click on the option Test.
  5. Get a test event configured.

– Body – {}

– Event name – event

  1. Click on the button Create.
  2. Select Test.

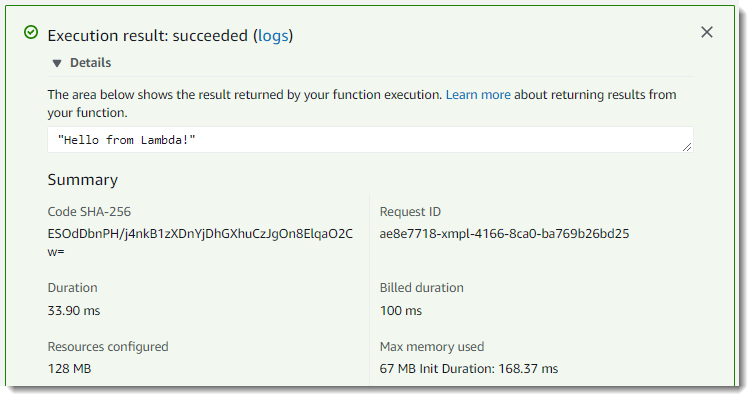
Your function will get executed and the result will be displayed. If you’d like to check the output and the details of execution, you will need to get the Details section expanded.


How to Get a Resource Added?


For the sake of cloning the project repository you will need to go over the following steps that are shown below:

  1. Go straight to the Lambda console Applications page.
  2. Select from the list my-app.
  3. Click on Code.
  4. For the Repository details, go ahead and copy the HTTP or SSH repository URI, according to which authentication mode you have configured in the setup.
  5. For getting the repository cloned, utilize the command of git clone.

~$ git clone ssh://git-codecommit.us-east-2.amazonaws.com/v1/repos/my-app-repo

If you’d like to get a DynamoDB table added to the application, you will need to start defining in your template an AWS::Serverless::SimpleTable resource to be included.

For adding a DynamoDB table, you will to go over the following steps that are listed down below:

  1. Go to the yml using a text editor.
  2. Get a table resource added, along with an environment variable for passing the table name to your function, as well as a permissions policy for being able to manage the function.


Example having template.yml – resources

Resources:

ddbTable:

    Type: AWS::Serverless::SimpleTable

    Properties:

      PrimaryKey:

        Name: id

        Type: String

      ProvisionedThroughput:

        ReadCapacityUnits: 1

        WriteCapacityUnits: 1

helloFromLambdaFunction:

Type: AWS::Serverless::Function

Properties:

CodeUri: ./

Handler: src/handlers/hello-from-lambda.helloFromLambdaHandler

Runtime: nodejs10.x

MemorySize: 128

Timeout: 60

Description: A Lambda function that returns a static string.

Environment:

        Variables:

          DDB_TABLE: !Ref ddbTable

Policies:

– DynamoDBCrudPolicy:

            TableName: !Ref ddbTable

– AWSLambdaBasicExecutionRole

  1. Commit then get the change pushed.

~/my-app-repo$ git commit -am “Add DynamoDB table”

~/my-app-repo$ git push

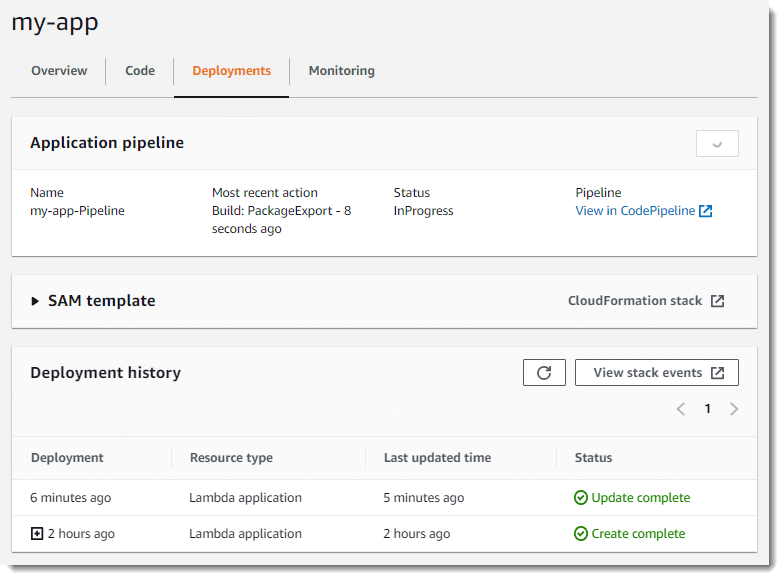
This will trigger the app’s pipeline. If you’d like to track the changes while they flow in your pipeline, utilize the Deployments tab found on the application screen. Upon completing this deployment process, carry on to the following step.


How to get the permissions boundary Updated?


For updating the app’s permissions boundary, do the following steps below:

  1. Go directly to the Lambda console Applications page.
  2. Select the application you’ve created.
  3. For the section of Resources, select the option Edit permissions boundary.
  4. Go over and perform the directions displayed for the sake of updating the boundary to make it provide access to the new table.

How to get the function code Updated?

For the sake of updating your function code, do the following steps below:

  1. Get a new handler added having the name of “js”to the folder named src/handlers and the handler must include the below listed content.


Example of an src/handlers/index.js

const dynamodb = require(‘aws-sdk/clients/dynamodb’);
const docClient = new dynamodb.DocumentClient();
exports.handler = async (event, context) => {
const message = ‘Hello from Lambda!’;
const tableName = process.env.DDB_TABLE;
const logStreamName = context.logStreamName;
var params = {
TableName : tableName,
Key: { id : logStreamName },
UpdateExpression: ‘set invocations = if_not_exists(invocations, :start) + :inc’,
ExpressionAttributeValues: {
‘:start’: 0,
‘:inc’: 1
},
ReturnValues: ‘ALL_NEW’
};
await docClient.update(params).promise();
const response = {
body: JSON.stringify(message)
};
console.log(`body: ${response.body}`);
return response;
}
  1. Access the app template then make changes to the handler value so that it becomes: src/handlers/index.handler.


Example of template.yml

helloFromLambdaFunction:

Type: AWS::Serverless::Function

Properties:

CodeUri: ./

Handler: src/handlers/index.handler

Runtime: nodejs10.x

  1. Get the change committed and then pushed.

~/my-app-repo$ git add . && git commit -m “Use DynamoDB table”

~/my-app-repo$ git push

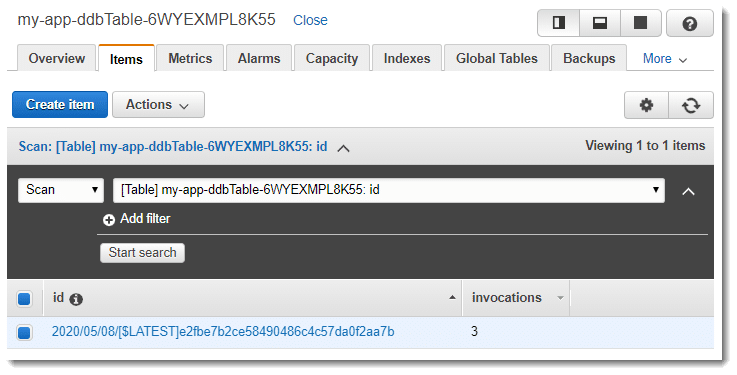
Upon deploying the processed code change, you will need to get the function invoked for a couple of times in order to get the DynamoDB table updated.

For the sake of viewing your DynamoDB table, do the following steps mentioned below:

  1. Go straight to the Tables page of the DynamoDB console.
  2. Select the table which begins with my-app.
  3. Select Items.
  4. Click on the option Start search.


creating a service role