Create a Video Stream
Step 1.
You will need to Create an AWS Account Key:
First and before anything, you must have an AWS Account Key for the sake of being able to access Kinesis Video Streams programmatically.
For creating an AWS Account Key, follow the below simple steps:
- Login to the AWS Management Console then head to the IAM console using the following link https://console.aws.amazon.com/iam/.
- Click on the section Users from the navigation bar, then select the Administrator user.
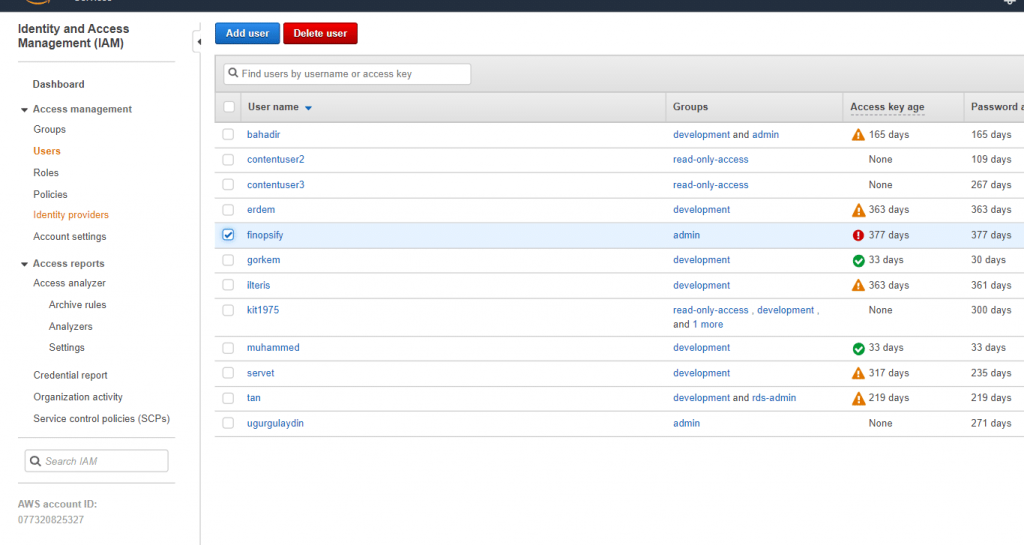
Create a Video Stream – Admin User
- Click on the Security credentials tab, then select Create access key.
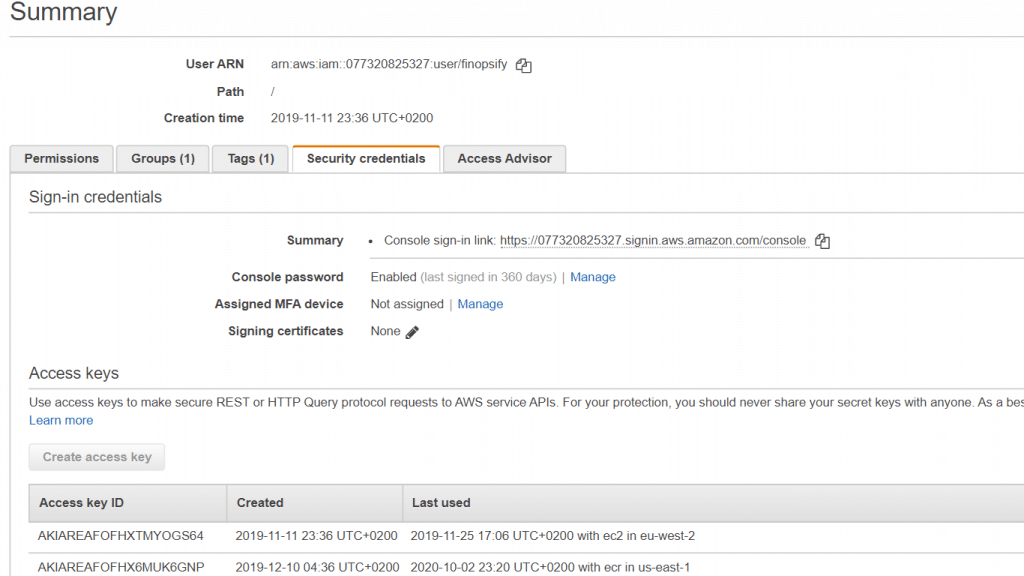
Create a Video Stream – Security Credentials
- Record the given Access key ID. Click on the option Show below Secret access key. Record the given Secret access key.
You will need to save the Access key and the Secret Access key to use them later on.
Step 2.
Time to Create a Video Stream for Kinesis
How to Create a Video Stream Using the Kinesis Console?
- Login to the AWS Management Console then go to the Kinesis console using the following link https://console.aws.amazon.com/kinesis.
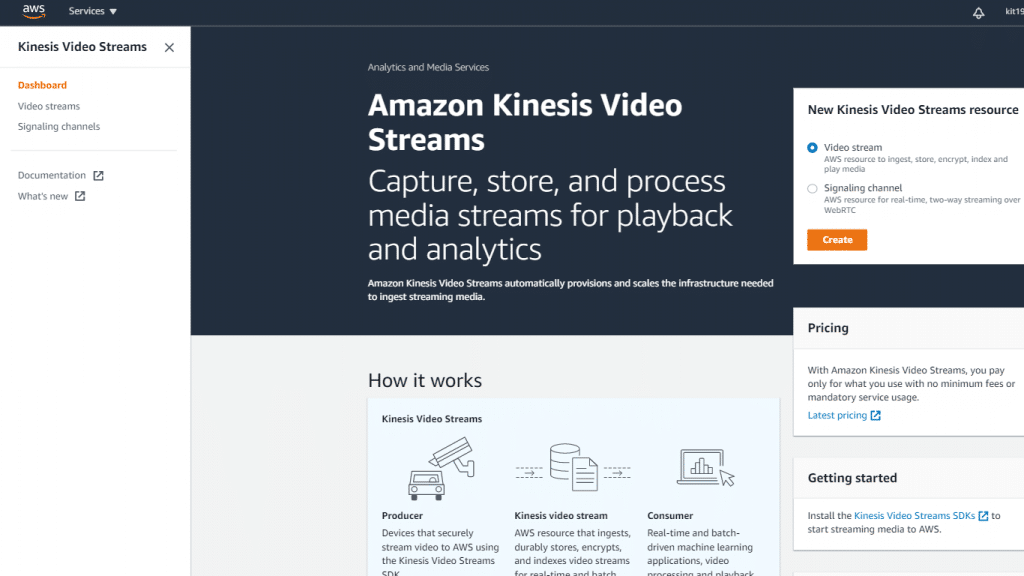
Create a Video Stream – Kinesis Video Streams
- From the page of Video streams, click on the option Create video stream.
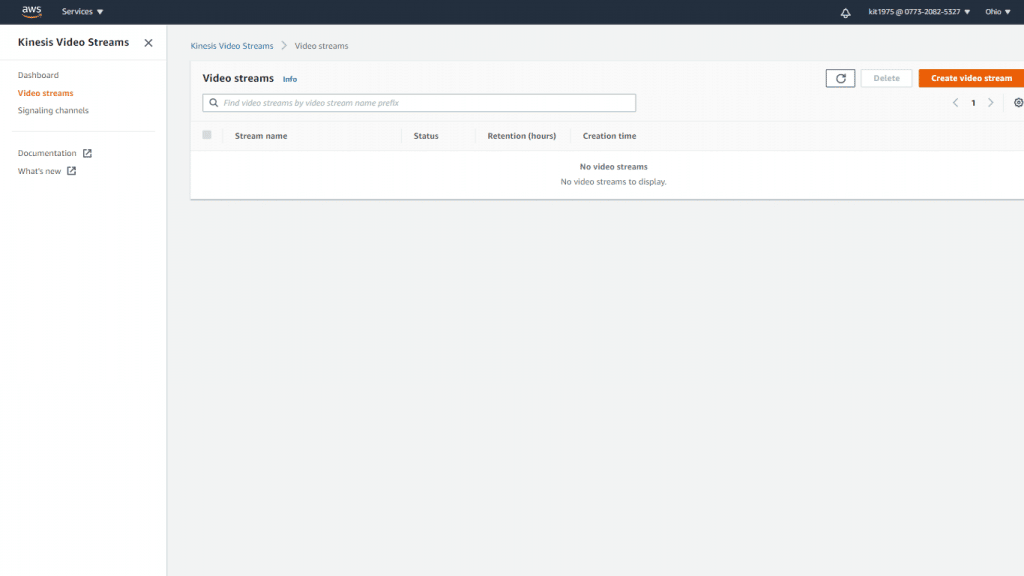
Create a Video Stream – Video Streams Page
- From the page of Create a new video stream, enter ExampleStream for the section of stream name. Leave the radio button of Default configuration chosen.
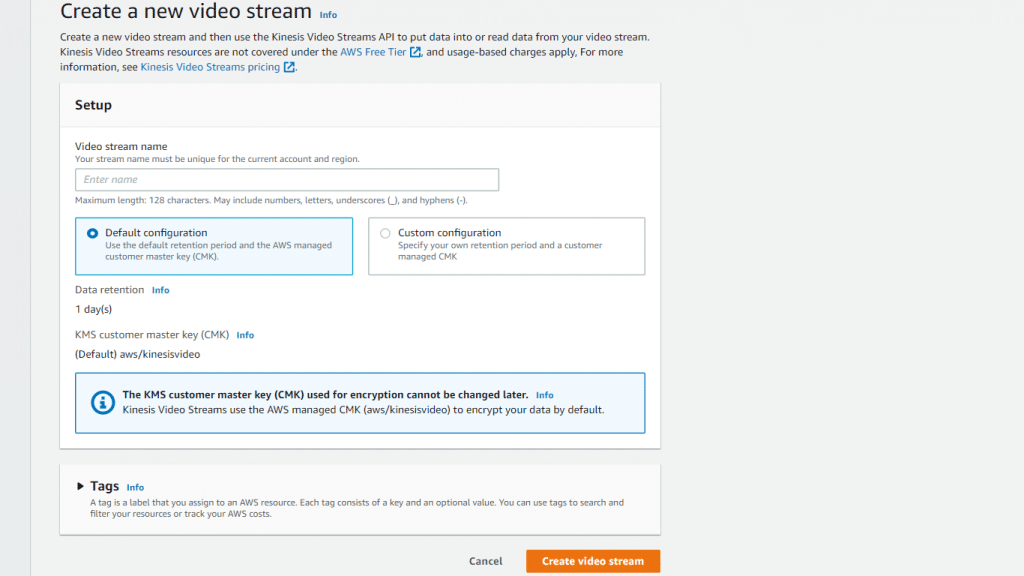
Create a Video Stream – New Video Stream Setup
- Click on the option Create video stream.
- When Kinesis Video Streams finishes creating the stream, go over the details found on the ExampleStream page.
This is how easy it is for you to create a video stream for the first time using the Amazon Kinesis Console.
How to Create a Video Stream Using the AWS CLI?
- Make sure that you already installed and configured the AWS CLI.
- After that, you will need to run the below Create-Stream command using the AWS CLI:
$ aws kinesisvideo create-stream --stream-name "MyKVStream" --data-retention-in-hours "24"You will get a response that looks like the one shown below:
{

"StreamARN": "arn:aws:kinesisvideo:us-west-2:123456789012:stream/MyKVSStream/123456789012"

}
Step 3.
Send Data to a Kinesis Video Stream (After you create a video stream)
In this step you will learn how you can send media data from a camera straight to the Kinesis video stream that you just created in the previous step. Here we will be working with the C++ Producer Library as a GStreamer plugin.
For simply sending media from various devices on different operating systems, this step will go with GStreamer. It represents an open source media framework which standardizes access to cameras as well as a variety of media sources.
The example of GStreamer application can be supported with the below operating systems:
- Ubuntu
- Microsoft Windows
- Raspbian (Raspberry Pi)
- macOS
Downloading the C++ Producer SDK
You can find the GStreamer sample in the C++ Producer SDK. You are capable of downloading the C++ Producer SDK on GitHub through the below given Git command:
$ git clone https://github.com/awslabs/amazon-kinesis-video-streams-producer-sdk-cpp Compiling the GStreamer Example
It’s possible to compile and install the GStreamer sample using the directory of the kinesis-video-native-build with the below commands:
- Ubuntu and Raspbian:
- First you should run those:
$ sudo apt-get update

$ sudo apt-get install libgstreamer1.0-dev libgstreamer-plugins-base1.0-dev gstreamer1.0-plugins-base-apps

$ sudo apt-get install gstreamer1.0-plugins-bad gstreamer1.0-plugins-good gstreamer1.0-plugins-ugly gstreamer1.0-tools-
- In case you’re on Raspbian, you should run
$ sudo apt-get install gstreamer1.0-omxas soon as you run the commands shown previously.
- Head to the directory of kinesis-video-native-build and start running the
./min-install-script
- In case you’re on Raspbian, you should run
- Windows:
- In mingw32 or mingw64 shell, head to the directory of
kinesis-video-native-buildand start running the ./min-install-script
- In mingw32 or mingw64 shell, head to the directory of
- macOS:
- Start installing homebrew
- Then, run
brew install pkg-config openssl cmake gstreamer gst-plugins-base gst-plugins-good gst-plugins-bad gst-plugins-ugly log4cplus - Head to the directory of kinesis-video-native-build and start running
./min-install-script
Running the GStreamer Example
The GStreamer application will send media using your camera to the Kinesis Video Streams service. You are capable of running the GStreamer example app for your operating system along with the below commands. You can start running the example app using the kinesis-video-native-build/downloads/local/bin directory.
Utilize the below parameters for the following command:
- First – The Access key: This is the AWS access key which you have recorded for your account details in the 1st step of this article.
- Second – The Secret key: This is the AWS secret key which you have previously recorded for your account details in the 1st step of this article.
- Third – The AWS Region: A specific region of your choice which supports the Kinesis Video Streams.
How to Run the GStreamer Example on Ubuntu?
You are capable of running the GStreamer example app on Ubuntu using the below command. Set your camera device along with the device parameter.
$ gst-launch-1.0 v4l2src device=/dev/video0 ! videoconvert ! video/x-raw,format=I420,width=640,height=480 ! x264enc bframes=0 key-int-max=45 bitrate=512 tune=zerolatency ! h264parse ! video/x-h264,stream-format=avc,alignment=au,profile=baseline ! kvssink stream-name="MyKinesisVideoStream" storage-size=512 access-key="YourAccessKey" secret-key="YourSecretKey" aws-region="YourAWSRegion"How can you Run the GStreamer Example on Raspbian (Raspberry Pi)?
You are capable of running the GStreamer example app on Raspbian using the below command. Set your used camera device along with the device parameter.
$ gst-launch-1.0 v4l2src device=/dev/video0 ! videoconvert ! video/x-raw,format=I420,width=640,height=480 ! omxh264enc control-rate=2 target-bitrate=512000 periodicity-idr=45 inline-header=FALSE ! h264parse ! video/x-h264,stream-format=avc,alignment=au,profile=baseline ! kvssink stream-name="MyKinesisVideoStream" access-key="YourAccessKey" secret-key="YourSecretKey" aws-region="YourAWSRegion"How can you Run the GStreamer Example on Windows?
You are capable of running the GStreamer example app on Windows using the below command:
$ gst-launch-1.0 ksvideosrc ! videoconvert ! video/x-raw,format=I420,width=640,height=480 ! x264enc bframes=0 key-int-max=45 bitrate=512 tune=zerolatency ! h264parse ! video/x-h264,stream-format=avc,alignment=au,profile=baseline ! kvssink stream-name="MyKinesisVideoStream" storage-size=512 access-key="YourAccessKey" secret-key="YourSecretKey" aws-region="YourAWSRegion"How can you Run the GStreamer Example on macOS?
You are capable of running the GStreamer example app on MacOS using the below command:
$ gst-launch-1.0 autovideosrc ! videoconvert ! video/x-raw,format=I420,width=1280,height=720 ! vtenc_h264_hw allow-frame-reordering=FALSE realtime=TRUE max-keyframe-interval=45 bitrate=512 ! h264parse ! video/x-h264,stream-format=avc,alignment=au,profile=baseline ! kvssink stream-name=MyKinesisVideoStream storage-size=512 access-key="YourAccessKey" secret-key="YourSecretKey" aws-region="YourAWSRegion"
How to Consume Media Data?
You are capable of consuming media data through seeing it on the console, or through the creation of an app which reads media data from a stream through HLS.
Viewing Media Data using the Console
For the sake of checking the media data which is being sent from your camera using the Kinesis Video Streams console, head to the Kinesis Video Streams console using the following link https://console.aws.amazon.com/kinesisvideo/, then click on the MyKinesisVideoStream stream from the page of Manage Streams. The video will be playing in the pane of Video Preview.
Consuming Media Data through HLS
You are capable of creating a client app which consumes data using a Kinesis video stream with Hypertext Live Streaming.
You can also use the AWS Kinesis Console to Create a Data Stream.